A home siding company should run your project in eight documented steps: in-home consultation and assessment, material selection, itemized written estimate, contract and permits, pre-installation walkthrough, tear-off and substrate inspection, installation to manufacturer specification, and final walkthrough with warranty handoff. Surprises almost never come from your house. They come from a missing process, so ask any company to show you those steps in writing before you compare prices.
Here is the full sequence at a glance:
- In-home consultation and exterior assessment
- Material selection and design review
- Itemized written estimate
- Contract, permits, and scheduling
- Pre-installation walkthrough and site protection
- Tear-off and substrate inspection
- Installation to manufacturer specification
- Final walkthrough, cleanup, and warranty handoff
Below, we cover what happens in each step, who is responsible, and what you should receive in writing. If you are still mapping out your options across siding and wall systems, this is the comparison framework worth using before you look at a single price.
Why the Process Matters More Than the Pitch
Siding replacement is a building envelope project, not a cosmetic one. What goes behind the panels, including the water-resistive barrier, flashing, and substrate repairs, decides whether your walls stay dry for decades or start causing callbacks in a few years. The U.S. Department of Energy's Energy Saver guidance treats walls, insulation, and ventilation as one connected system, which is a useful way to think about your own project.
That is why the sales presentation tells you very little. Anyone can show you a color board. Far fewer companies can hand you a documented sequence, an itemized estimate, a written change-order policy, and a warranty package that holds up because the work was installed exactly to the manufacturer's requirements.
When you compare three to five companies, compare their processes side by side. A company that cannot describe its process in advance is unlikely to manage it well on your property.
The 8-Step Home Siding Company Process
Each step should produce something you can hold, review, and approve. That is the standard worth holding every home siding company to, including ours.
Step 1: In-Home Consultation and Exterior Assessment
A real assessment happens on site, not from a satellite image. A project consultant measures every elevation, checks the existing siding for warping, cracking, fading, or storm damage, and looks for signs of moisture behind the walls.
Soffit, fascia, trim, and attic ventilation get reviewed in the same visit, because they are part of the same assembly. Every home has wear somewhere. The point of the visit is an accurate picture, not a judgment.
You should leave this step with written assessment notes and photos of anything that needs attention. If you would rather start with a conversation than a site visit, you can contact our team and we will walk you through what the assessment covers first.
Step 2: Material Selection and Design Review
This is where a long list of options becomes a decision you feel good about. A good consultant compares vinyl, engineered wood, and fiber cement in plain language: how each handles your climate, what upkeep each needs, and what the manufacturer warranty actually covers.
You are welcome to read the source documents yourself, and we encourage it. James Hardie publishes its fiber cement warranty and installation requirements, LP SmartSide publishes engineered wood specifications and limited warranty terms, and the Vinyl Siding Institute lists products that have passed independent certification.
Color and trim decisions are easier when you can see them before anything is ordered. Our 3D designer shows your color combinations first, on a rendering of your own home, so you are approving a look rather than imagining one.
You should receive physical samples and a written summary of the selections that carry into your siding replacement scope.
Step 3: Itemized Written Estimate
An itemized estimate is the best single document for comparing companies. Every line should be visible: tear-off and disposal, substrate repair allowances, water-resistive barrier, flashing, trim, soffit and fascia work, labor, permits, and warranty terms.
Low bids are usually low because something on that list was left out. Tear-off, barrier, and flashing are the most common omissions, and they are the ones that cost the most later. If you want outside context on what siding work typically costs and recovers at resale in your region, the Remodeling Cost vs. Value Report is a reasonable benchmark.
Ask every company for a format you can line up side by side. When you are ready to see ours, you can request an itemized estimate and review it on your own time. If a number cannot be explained, it should not be in the proposal.
Step 4: Contract, Permits, and Scheduling
The contract should read like the estimate, with nothing new added and nothing quietly removed. It names the materials, the scope, the payment schedule, the workmanship warranty, and the written change-order policy.
Your contractor pulls the required permits and handles any association or city approvals. You receive a projected start date, an estimated duration, and the name and phone number of your single point of contact.
Most homes take roughly one to two weeks of working days, depending on size, material, and weather. Weather delays should be shared the same day they happen.
Step 5: Pre-Installation Walkthrough and Site Protection
Before the first panel comes off, your project manager walks the property with you. You confirm material staging, dumpster placement, work hours, parking, and which doors your family will use during the day.
The crew protects landscaping, windows, decks, and AC units, then covers the ground to catch fasteners and debris. It is worth moving fragile items on interior walls, since siding work creates vibration.
You should receive a confirmed daily schedule, so there are no unannounced trucks in your driveway.
Step 6: Tear-Off and Substrate Inspection
This is the step where your home's real condition is revealed. With the old siding removed, the crew inspects sheathing, framing, and existing moisture barriers for rot, insect damage, or past water intrusion.
If hidden damage shows up, you get photos and a written change order with the cost before any extra work begins. Approved in advance, never discovered on the final invoice.
This is also when soffit and fascia conditions become visible, which matters because they control attic ventilation and water management at the roof edge. The Department of Energy's home weatherization guidance explains why balanced intake and exhaust airflow protects both your attic and your energy bills. Quotes that skip tear-off are quotes that invite surprises.
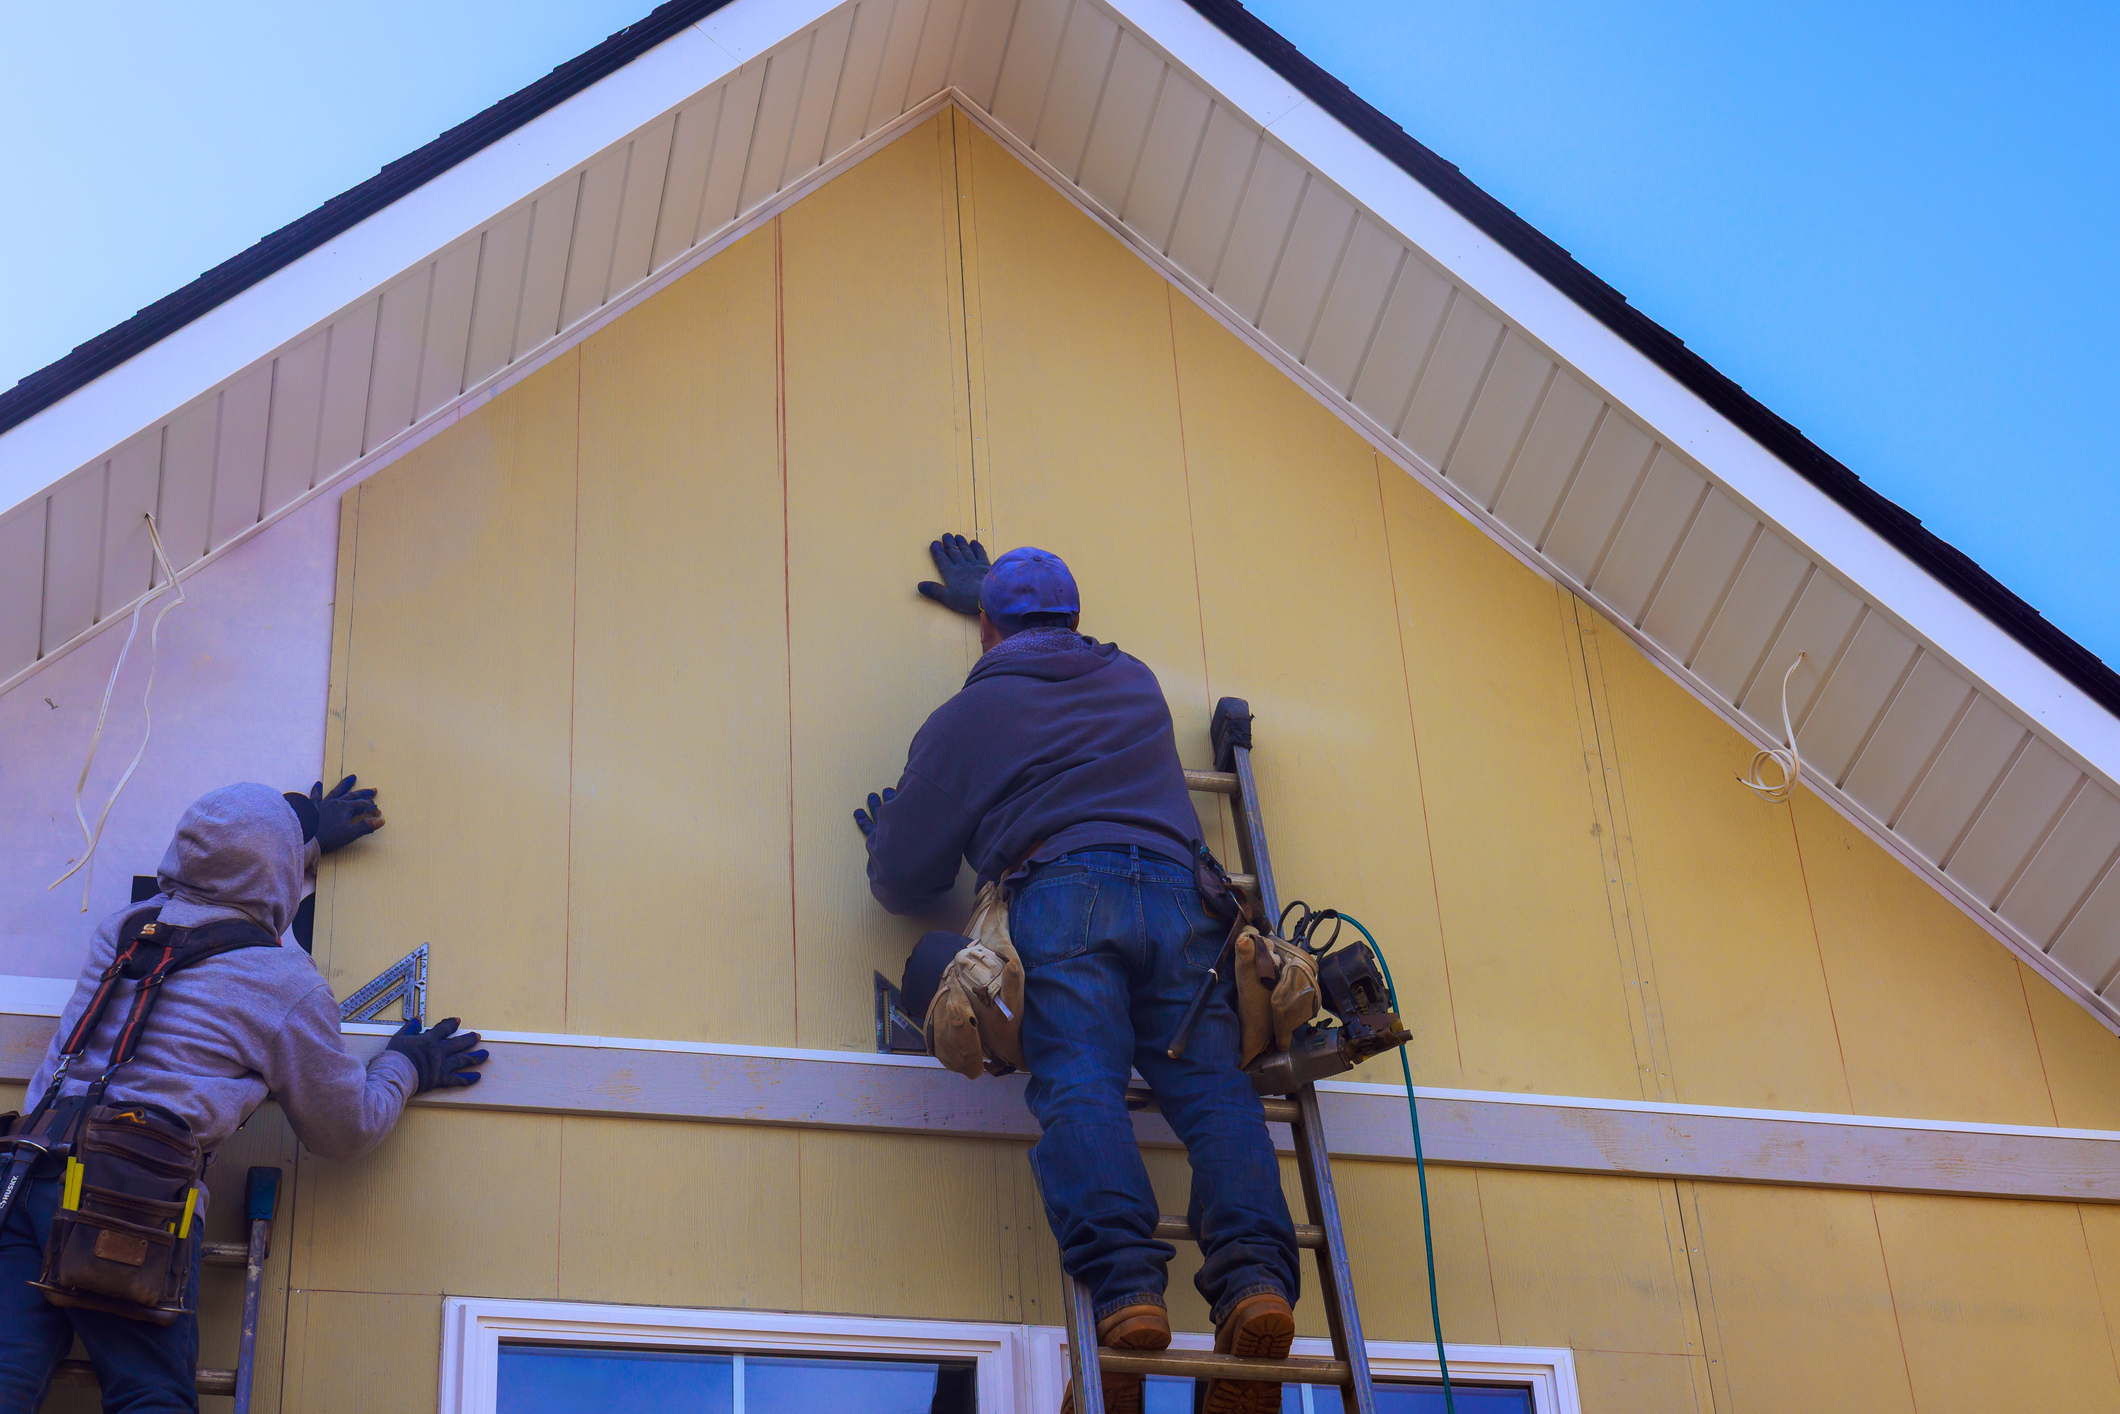
Step 7: Installation to Manufacturer Specification
Installing to specification is what keeps your warranty enforceable rather than decorative. Manufacturers such as James Hardie publish exact requirements for the water-resistive barrier, flashing at every window and door, fastener type and spacing, clearances, and expansion gaps. Miss those details and a claim can be denied on workmanship grounds.
Factory-trained installers follow those instructions by habit, not by memory. For vinyl, the Vinyl Siding Institute's installer certification program is a useful credential to ask about, since it tests installation knowledge against a published standard.
These details are invisible once the siding is on, which is exactly why they get documented with progress photos. Expect daily cleanup, magnetic sweeps for fasteners, and a short end-of-day update from your point of contact.
Step 8: Final Walkthrough, Cleanup, and Warranty Handoff
The project is not finished when the siding is up. It is finished when you have walked every elevation with your project manager, listed anything that needs correction, and signed off after those items are handled.
The site is cleared, debris hauled, and landscaping restored. Then you receive your closeout package: the manufacturer product warranty, our written warranty coverage for workmanship, permit records, care instructions, and installation photos.
Keep that package. A product warranty covers defects in the material. A workmanship warranty covers how it was installed. You want both, in writing, in your file.
How to Tell a Real Process From a Sales Script
A documented process holds up to questions. A sales script does not. Use these during your consultations with any home siding company:
- Can you give me your process in writing before I compare prices?
- Is tear-off and disposal a separate line on the estimate?
- What is your change-order policy if hidden damage is found?
- Who is my single point of contact, and how often will I hear from them?
- Are your installers trained and certified by the manufacturer of the product you recommend?
- What exactly is in the warranty package I receive at completion?
Clear, specific answers signal a company that manages projects. Vague answers, pressure to sign today, or a one-page total with no breakdown signal a company that manages sales. You can see how we answer each of these on our siding services page before you ever pick up the phone.
Your Next Step: A Clear Plan, No Pressure
Before you compare numbers, compare processes. Read the manufacturer warranty documents yourself, then ask every company on your list to show you its eight steps in writing and see which proposal actually accounts for everything behind the panels.
When you are ready, we are glad to walk your home, explain what we find, and request an itemized estimate you can take your time with. No obligation and no deadline. You can also browse our full range of exterior siding services to see how this work fits with the rest of your home's exterior.