A roof replacement is one of the louder, more disruptive things that will ever happen at your home. For most standard homes, a crew will arrive in the morning, tear off the old roof, inspect the deck, install underlayment, and have new shingles on before they leave that evening. Knowing what's happening at each stage makes the experience a lot less stressful and helps you catch anything that doesn't look right before it's covered up.
This post walks through a standard asphalt shingle roof replacement day by day, from the morning the crew arrives through final cleanup. The IKO roof replacement timeline guide and the National Roofing Contractors Association's consumer information are both solid independent resources on what a professional installation should look like.
Most standard asphalt shingle roofs are completed in a single day. Larger homes, roofs with complex geometries and multiple dormers, or projects where significant deck damage is discovered can run into a second day. Weather delays are always a possibility in Wisconsin and Illinois, but the goal on every job is to get from tear-off to completed installation before the crew leaves.
The Days Before the Crew Arrives
A professional roofing contractor will reach out in the days before the project to confirm the start date, walk through material delivery, and let you know what to do to prepare. Materials typically arrive the day before or the morning of. You'll see shingle bundles and rolls of underlayment staged in the driveway, along with a dumpster nearby. That's all normal and expected.
Your preparation is straightforward. Move vehicles out of the driveway and away from the house. Clear anything along the exterior walls that could get hit by falling debris. Cover attic items that might be affected by vibration during tear-off. Talk to your contractor beforehand about any skylights so you both know how those areas will be handled.
Also ask before the job starts what happens if the crew finds deck damage during tear-off. Get the answer in writing. Negotiating a change order after the old roof is already off is a much harder conversation than having it ahead of time.
Morning: Tear-Off
Tear-off is the loudest part of the job, and it looks more intense than it actually is. The crew uses roofing shovels to strip shingles, underlayment, and ridge cap off the deck. Debris goes directly into the dumpster or gets staged for removal throughout the day.
If you work from home, the morning of your roof replacement is a good time to find somewhere else to be. The noise during tear-off is real, typically a few hours of consistent pounding for an average-sized home. Once tear-off wraps up and installation begins, the job site gets noticeably quieter.
A good crew manages debris continuously rather than letting material pile around the foundation. Watch specifically for nail management. The crew should be running magnetic rollers or doing regular nail sweeps around the property throughout the day, not just at the end of the job.
Midday: Deck Inspection and Repairs
With the old roofing stripped off, the crew does a thorough inspection of the roof deck. The deck is the structural sheathing, usually plywood or oriented strand board, that everything else sits on. This is the first real look at whether there's soft wood, rot, delamination, or moisture damage that wasn't visible before tear-off.
In Wisconsin and northern Illinois, ice dam damage is one of the most common things crews find during deck inspection. Water that backs up behind ice dams over multiple winters can soak into the deck at the eaves without ever being visible from inside the home. Staining, soft spots, and delamination near the eaves are the telltale signs.
If the crew finds deck damage, a reputable contractor stops, photographs it, and gives you a written change order with the repair scope and cost before any additional work proceeds. That's non-negotiable. A crew that just keeps going without documentation or authorization is not working in your interest.
Late Morning: Underlayment and Ice-and-Water Shield
Once deck repairs are done, the moisture barrier layers go on before any shingle is installed. This system has two components: ice-and-water shield in the high-risk areas, and synthetic underlayment across the rest of the deck. GAF notes that building codes in Northern climates require ice-and-water shield at the eaves, where ice dams are a known risk.
Ice-and-water shield is a peel-and-stick membrane that bonds directly to the deck and seals around fasteners. In Wisconsin and Illinois, it goes at the eaves and extends at least 24 inches past the interior wall line, in valleys, and around all penetrations like chimneys, skylights, and vents. In Florida, it covers valleys and penetrations to protect against wind-driven rain.
Synthetic underlayment covers the rest of the deck surface in horizontal courses, lapped at seams. It gives you a secondary water-shedding layer between the shingles and the deck, and it holds up better through installation and long-term than traditional felt. On a standard home, this whole stage typically gets done the same day as tear-off. If weather pushes the project to a second day before shingles go on, the underlayment protects the deck overnight.
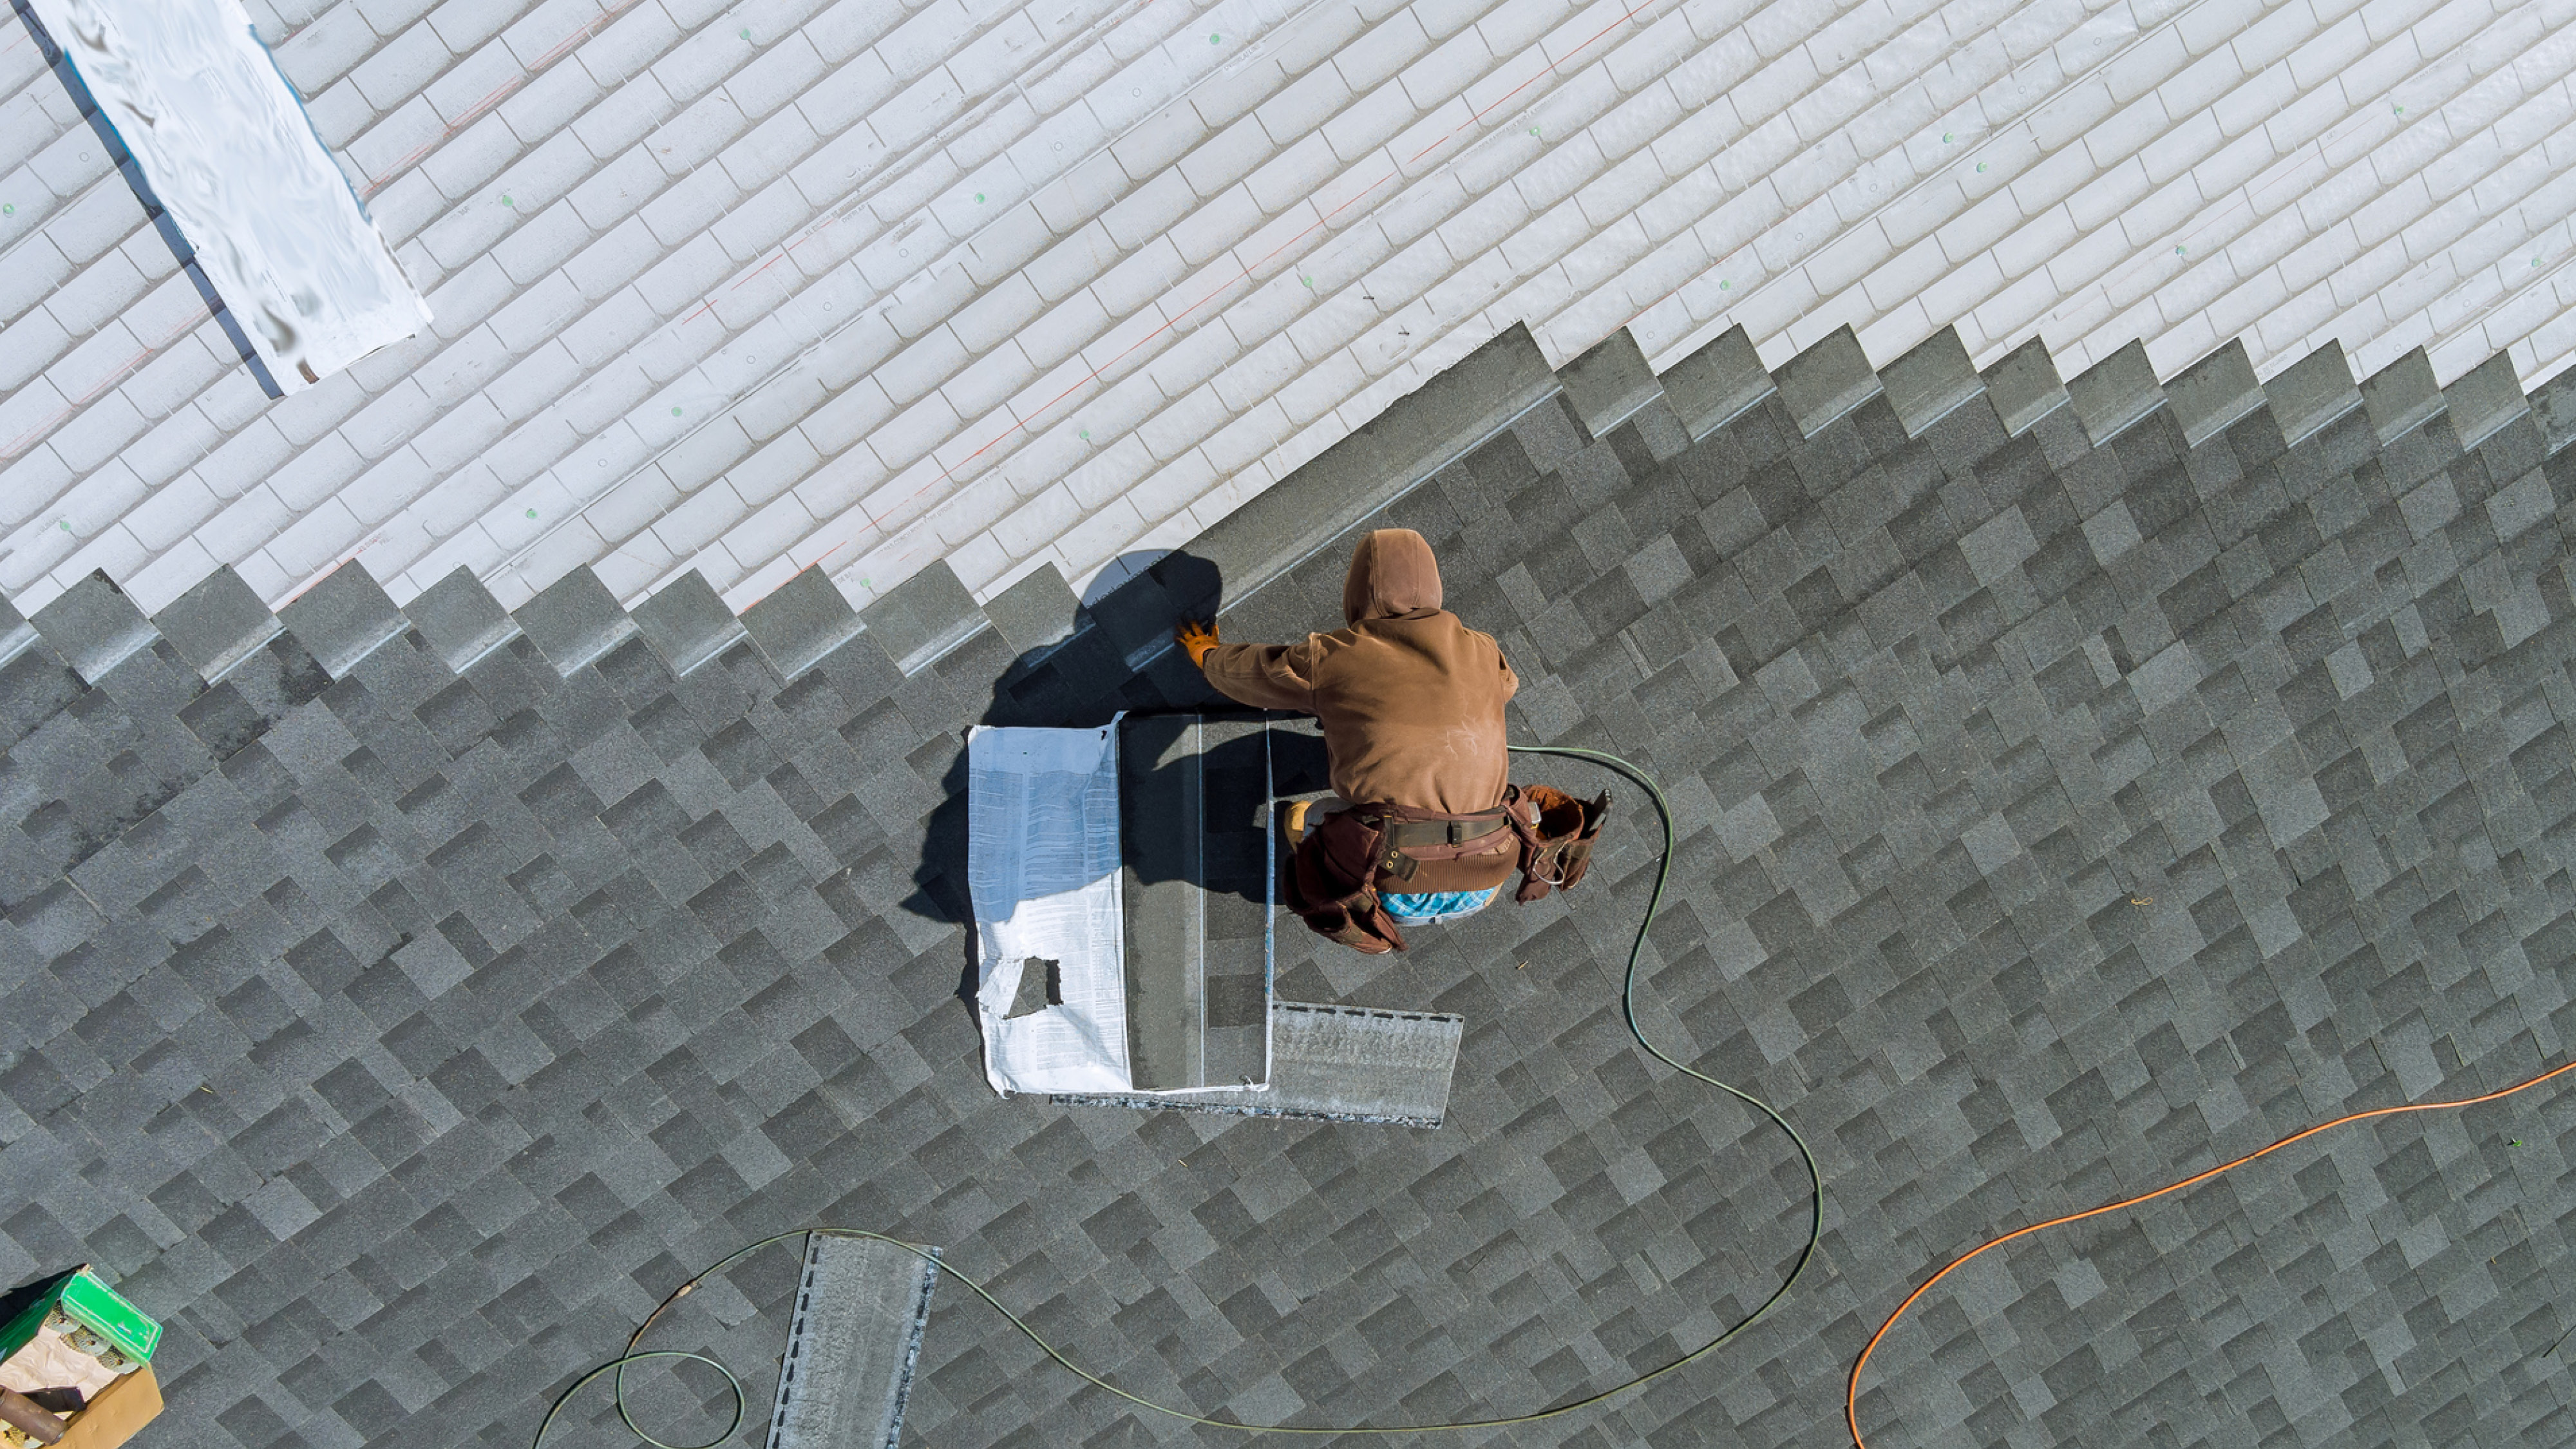
Afternoon: Shingle Installation
Shingle installation is what most people picture when they think of a roofing job. On a standard home, the crew typically transitions from underlayment to shingles by late morning or early afternoon, working upward from the eaves through ridge cap before the end of the day.
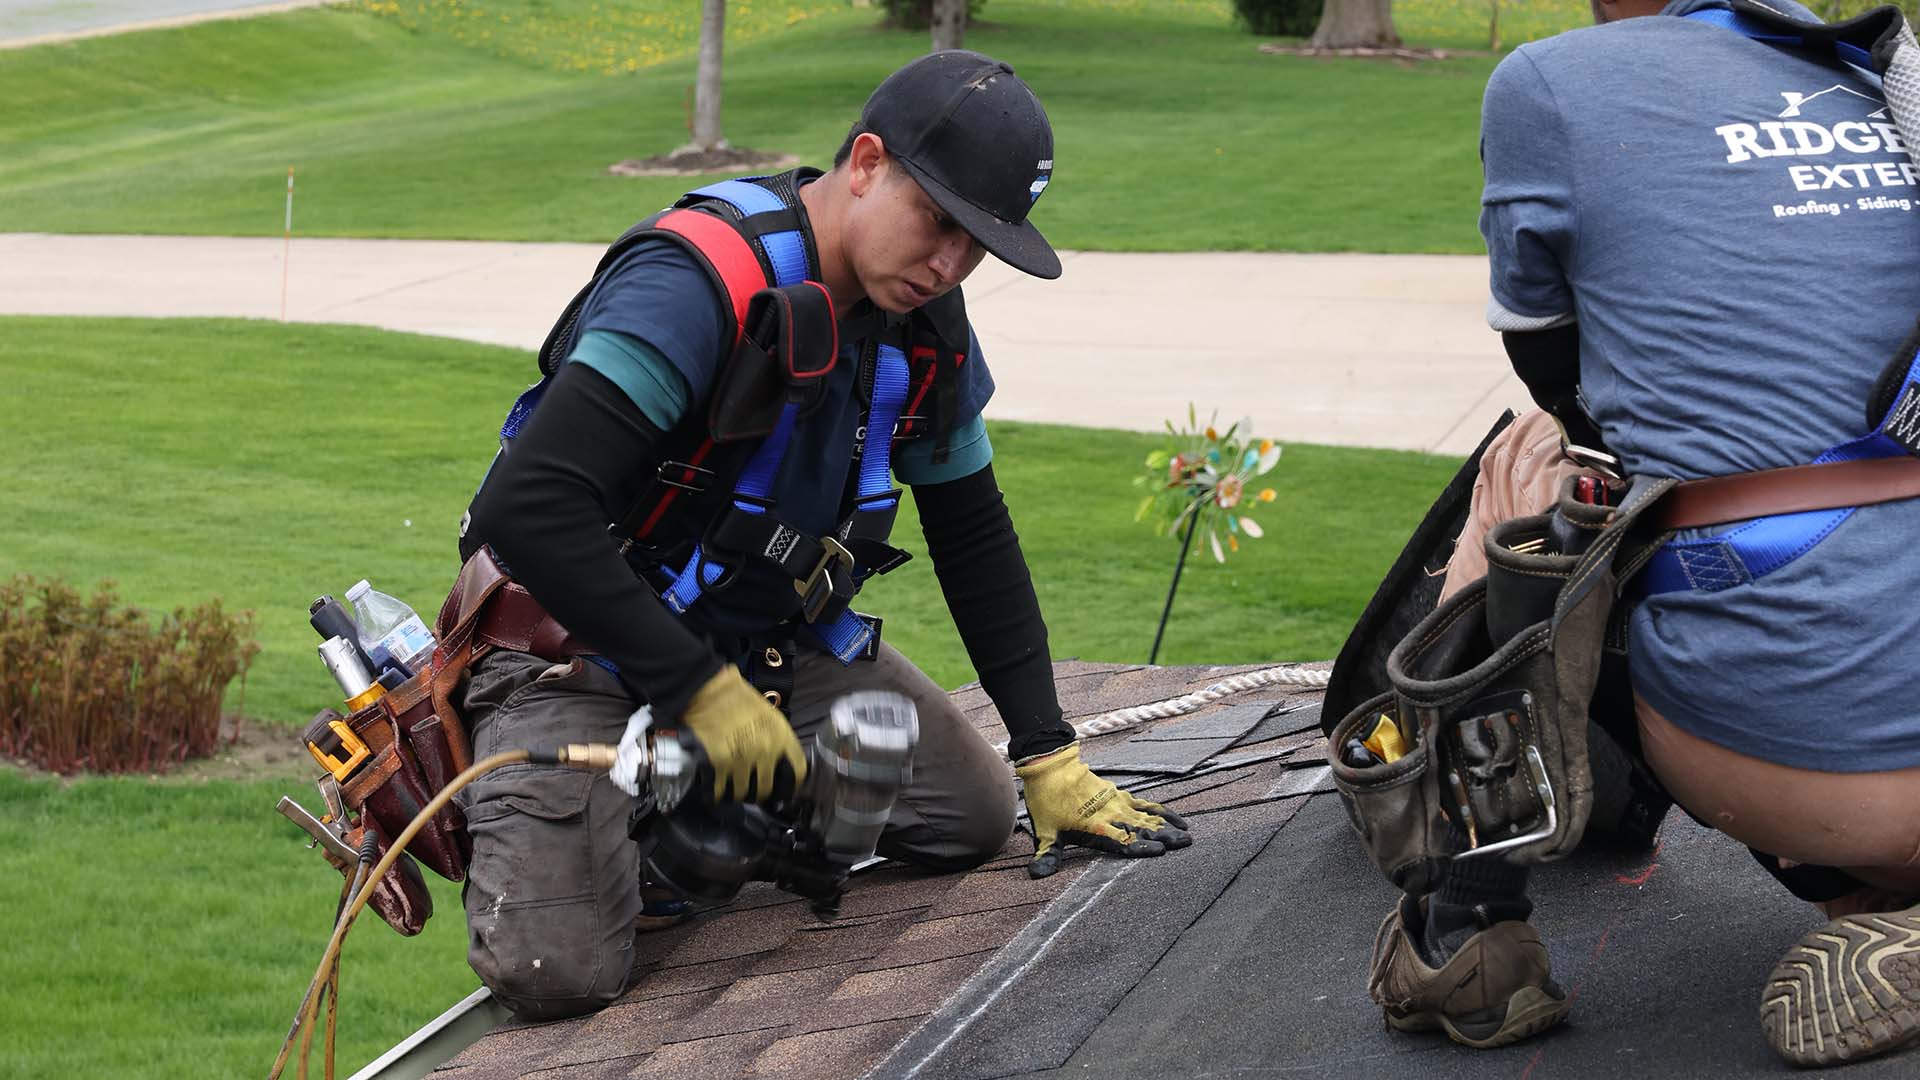
Starter strip goes at the eaves and rake edges before field shingles start. This sealed starter layer prevents wind lift at the most vulnerable edges of the roof. Field shingles then go on in overlapping courses, staggered so vertical joints don't line up between rows. Every shingle gets fastened with the right number of nails at the right location within the manufacturer's nailing zone. Nailing outside that zone reduces wind resistance and voids the warranty.
Flashing is installed or reinstalled at every penetration and transition: chimneys, pipe boots, step flashing at wall intersections, and skylights. Flashing is where most roof leaks originate when it's installed poorly or when old flashing gets reused without inspection. Good contractors replace pipe boots on every job and inspect all flashing, not just the spots that look obviously damaged.
Ridge cap goes on last, running the full length of every hip and ridge. On roofs with ridge ventilation systems, ventilated ridge cap gets installed to allow hot air to exhaust from the attic continuously.
Flashing, Ridge Cap, and the Details That Seal the System
Every penetration on the roof needs to be properly flashed and sealed. The chimney, pipe boots, skylights, and all wall intersections are where water is most likely to sneak in. Flashing done wrong at any of these points will eventually leak, no matter how well the field shingles are installed.
Chimney flashing uses a two-piece system: base flashing and counter flashing embedded into the mortar joints. This design lets the chimney and the roof move independently during thermal expansion without creating a gap that lets water in. Reusing old chimney flashing without inspection is a common shortcut that leads to early leaks.
Pipe boots should be replaced at every residential roof replacement, even if they look fine. A neoprene boot that appears intact may already be cracked at the base from UV exposure. Replacing it during the project costs almost nothing compared to a leak repair after the fact.
Final Cleanup and Walkthrough
A well-run crew keeps the site clean throughout the job, but the final cleanup when work is complete should be thorough. All debris gets hauled out, a magnetic sweep of the full property happens, staging materials come down, and the property should look the way it did when the crew arrived.
The final walkthrough is your chance to review the completed work before anything gets signed off. Walk the full perimeter and look at every section of the roofline. Check that ridge cap is continuous with no gaps. Look at every penetration and confirm flashing and pipe boots are installed properly. Make sure gutters are clear of debris and granules.
- Items to confirm at the final walkthrough:
- Ridge cap is continuous with no gaps at hips or ridges
- All pipe boots are new and properly sealed at the base
- Chimney flashing is fully integrated with no open gaps
- Step flashing is present at all wall-to-roof intersections
- Gutters are clear of shingle debris and granules
- Magnetic nail sweep has been completed across the full property
- Attic ventilation is unobstructed
If something doesn't look right, note it in writing before signing off on final payment. A contractor who stands behind their work will take care of punch list items before closing out the project.
What to Do If the Project Takes Longer Than Expected
Weather is the most common reason a roof replacement runs long. In Wisconsin and Illinois, spring and fall forecasts can shift fast, so this is worth planning for. A quality contractor will have tarps and emergency waterproofing ready to protect any exposed deck if rain comes before the job is complete. Ask about their rain delay protocol before the job starts, not after an unexpected storm rolls in.
Significant deck damage that requires material sourcing can also push completion to the next morning. Any scope change that adds time or cost should be in a written change order you approve before work continues.
How Ridge Top Manages the Process
Ridge Top Exteriors manages every roof replacement with a dedicated project consultant who walks you through the timeline, day-by-day expectations, and change order process before work begins. Our roofing contractor crews are factory-trained on GAF installation requirements and follow manufacturer specs at every stage, from ice-and-water shield placement to nailing patterns and flashing details.
Our roofing service page covers the materials and systems we install across Wisconsin, Illinois, and Florida. Our process page walks through what to expect from first contact through completed installation.
Use our instant quote tool for a real starting estimate, or read verified reviews from homeowners across our service area to see how we manage the process in practice.
A roof replacement done correctly wraps up in a day and stays off your radar for the next 25 years. Knowing what to expect before the crew arrives is the first step toward making that happen.