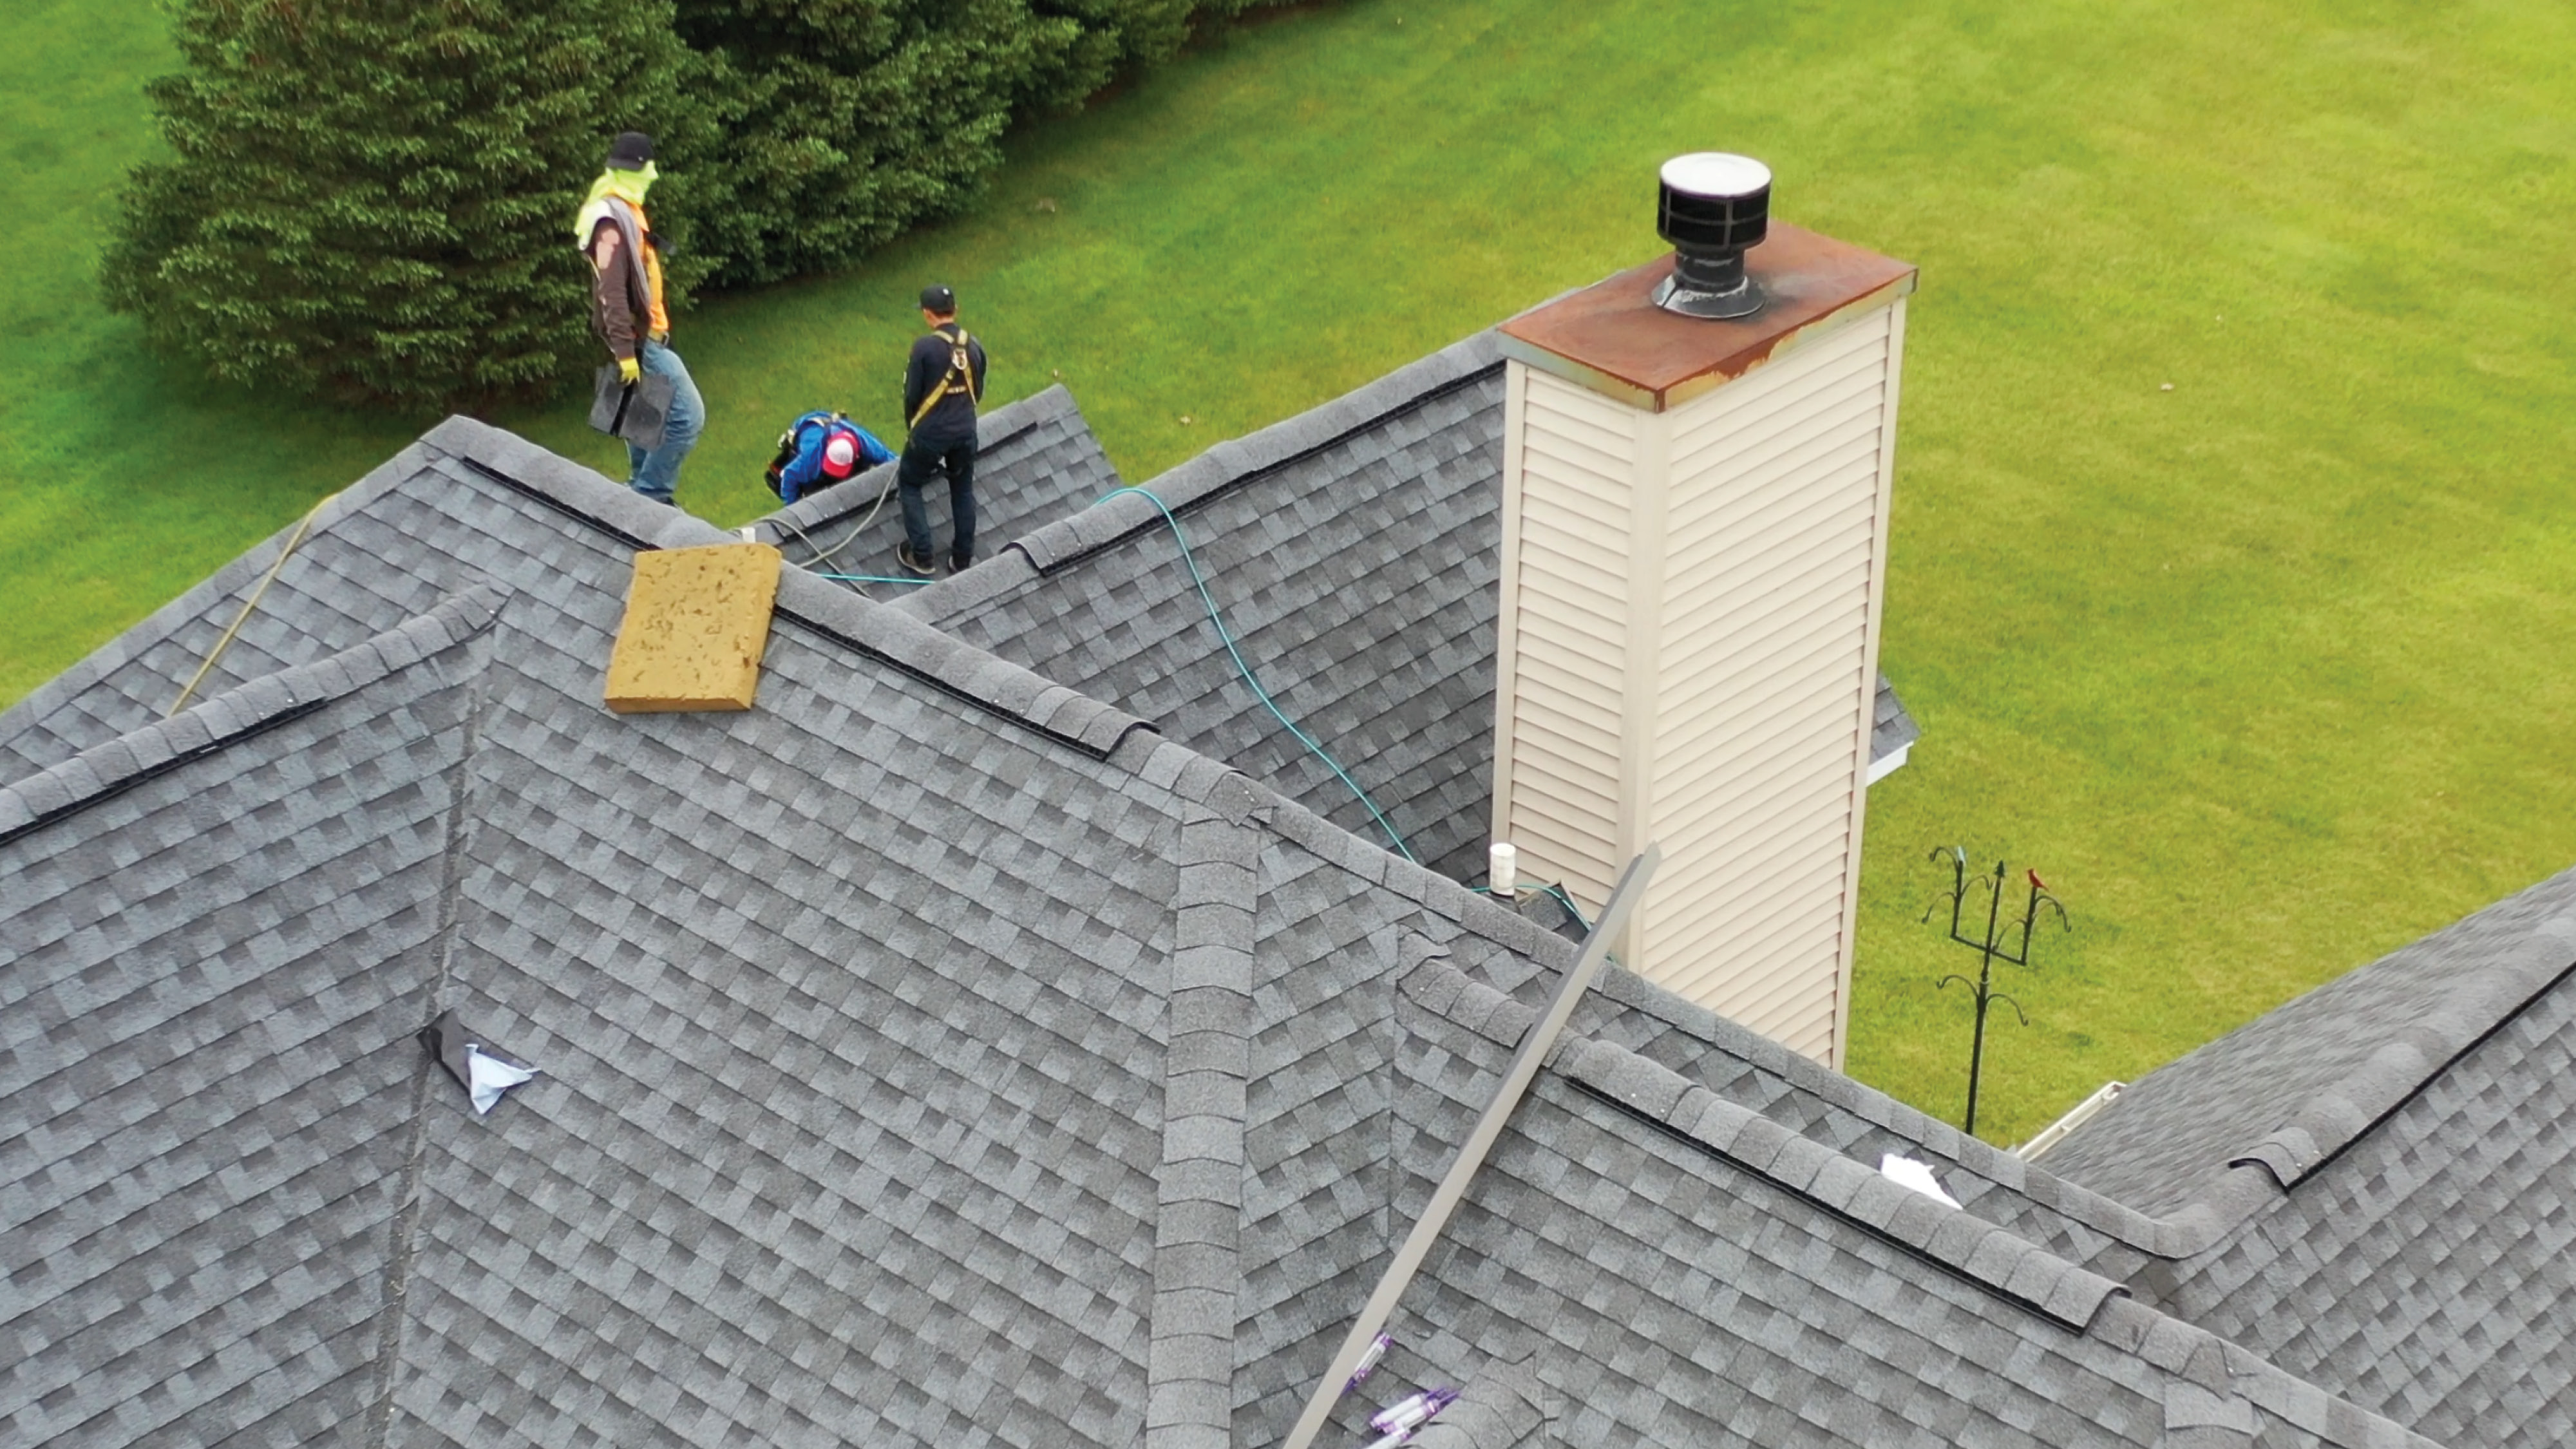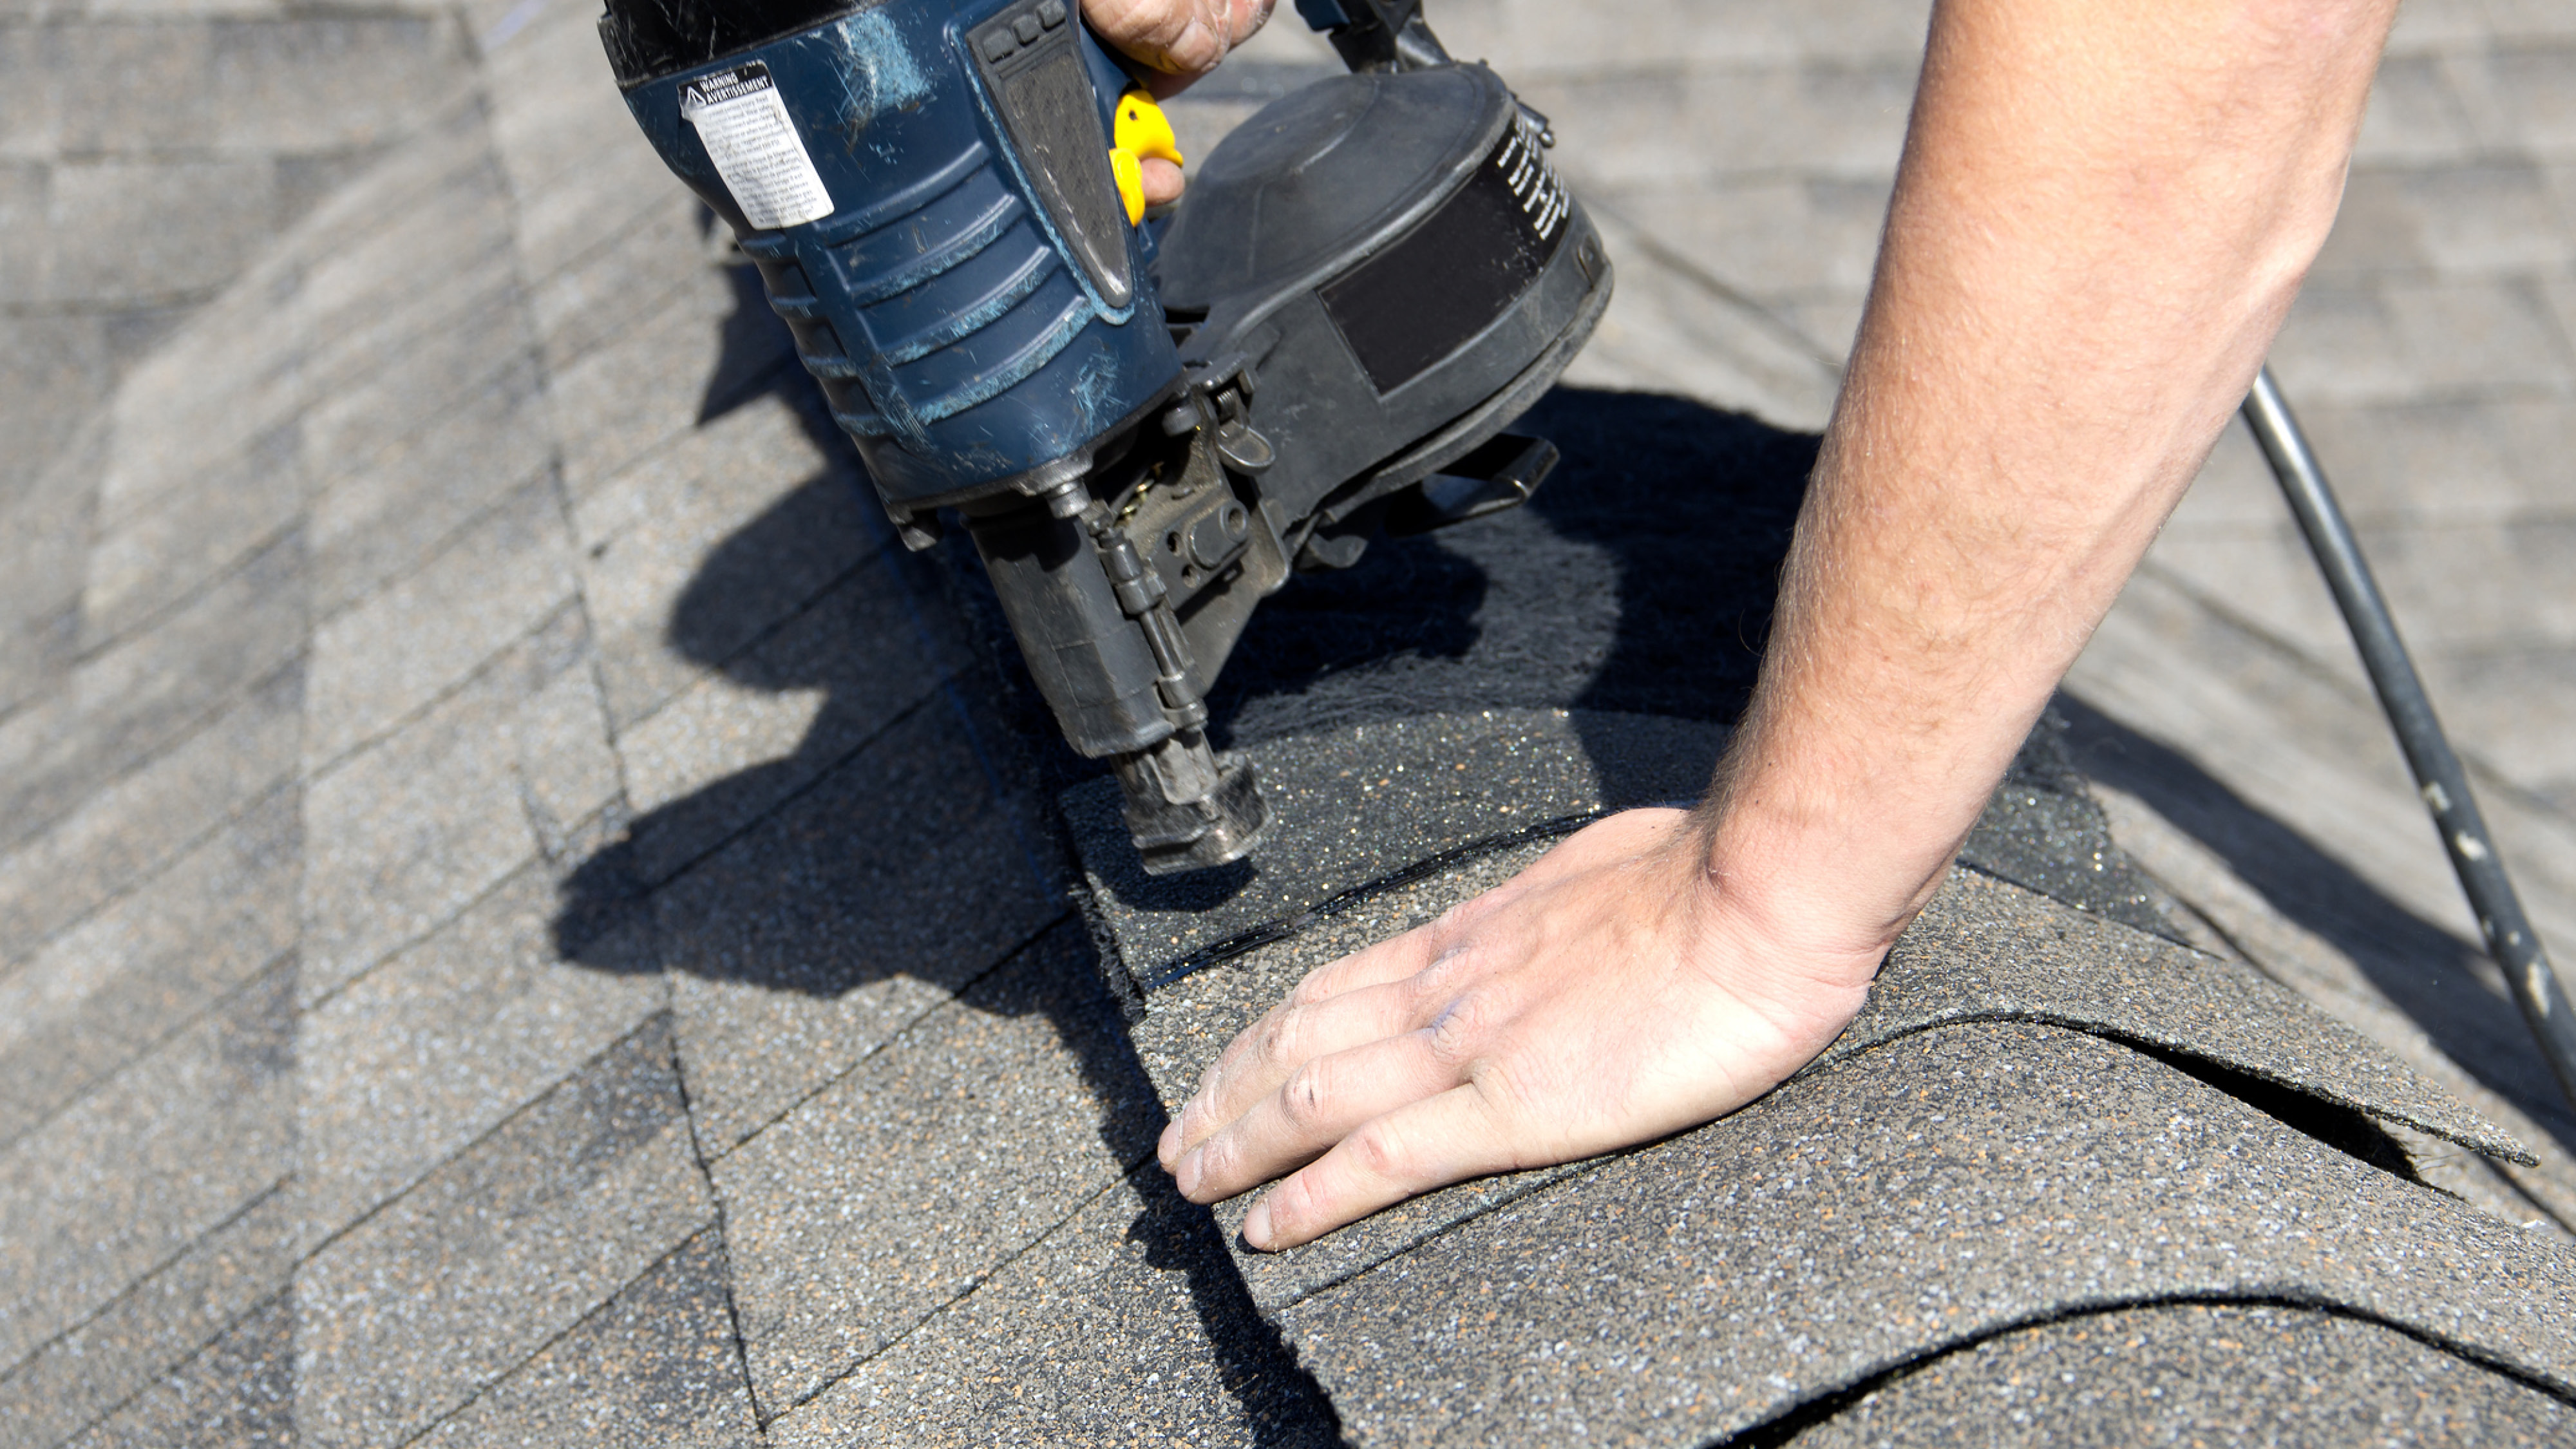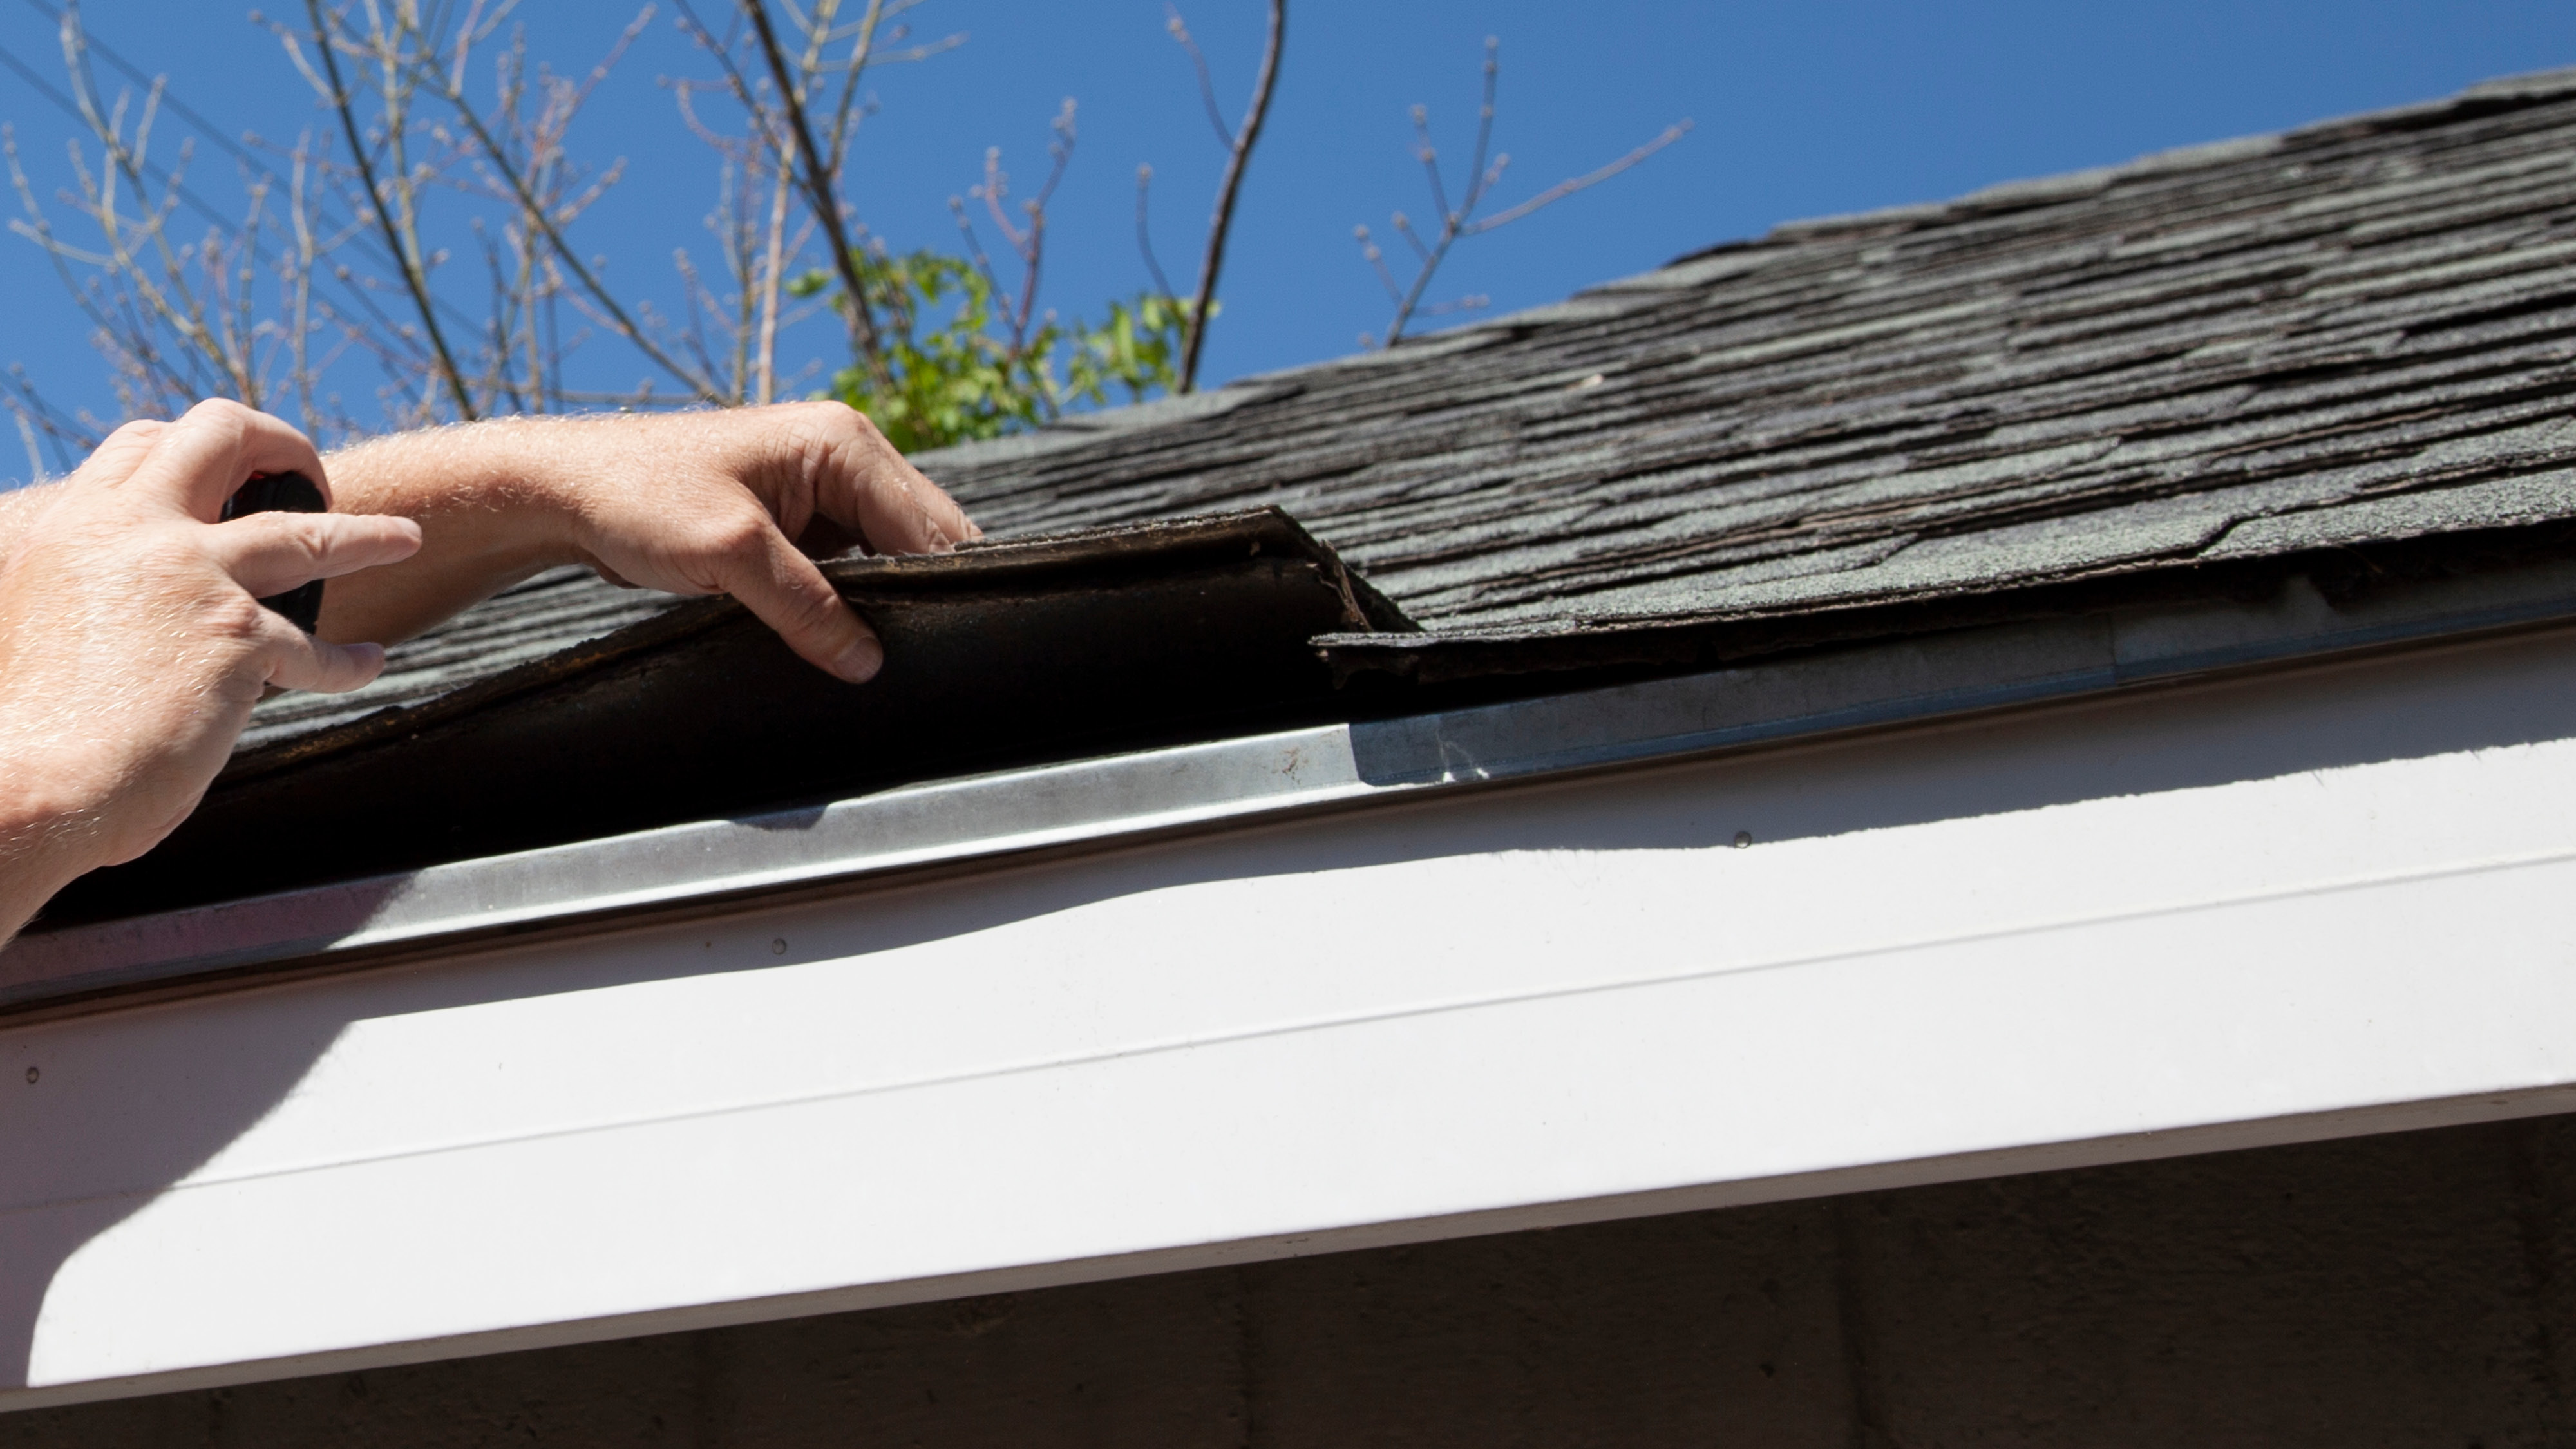
When a contractor says they'll do a free roof inspection, that phrase covers a wide range of actual activities. At the low end, it means walking the perimeter, looking up, and writing down a recommendation to replace. At the high end, it means a methodical, documented evaluation of every component in the roofing system. Those two things are not the same, and the difference shows up in whether you actually understand the condition of your roof when it's over.
This post walks through every element a thorough residential roofing inspection should cover, organized into five sections. It's also the framework behind Ridge Top's RoofCare+ membership program, which delivers this same 25-point photo inspection on a recurring schedule so homeowners always know where their roof stands. The National Roofing Contractors Association provides consumer guidance on what professional inspections should include. Use this as your reference for evaluating whether any inspection you receive actually covers the ground it should.
Why Inspection Quality Varies So Much
Roofing inspections aren't regulated by a single universal standard. Any contractor can call their site visit an inspection. Some use that label for a 10-minute visual scan. Others conduct a thorough point-by-point evaluation that takes 45 minutes to an hour and produces written documentation with photographs.
The quality difference matters because a roof has a lot of places where problems hide. The shingle surface is visible. The flashing details, the condition of the deck, the integrity of pipe boots and vent collars, and the attic ventilation system are not visible from the ground. A contractor who only evaluates what's easily visible is missing a significant portion of the system.
RoofCare+ was built specifically to close this gap. Every RoofCare+ inspection follows the same documented 25-point process, produces photo documentation for every finding, and gives homeowners a clear picture of their roof's condition rather than a sales pitch. Here is every element that process covers.
Section 1: Shingle Surface Condition (Points 1-6)
- 1. Granule coverage. The inspector looks at shingle faces across all slopes for thin or bare spots where granule loss has exposed the asphalt below. They note whether the loss is uniform (normal aging) or concentrated (impact damage or ventilation failure).
- 2. Curling and cupping. Shingles that are curling upward at the edges or cupping downward at the center have dried out. This indicates advanced UV degradation and reduces the shingle's ability to lay flat and shed water.
- 3. Cracking and splitting. Physical breaks in the shingle surface create direct water entry points. The inspector looks for cracks in the field of the shingle and at butt joints between courses.
- 4. Blistering. Bubbles on the shingle surface indicate trapped moisture volatilizing during heat cycles. Blistering is most common on poorly ventilated roofs and in hot climates like Florida.
- 5. Hail impact patterns. A trained inspector can distinguish hail impact marks from normal aging. Hail creates circular impressions with disturbed granule patterns. The distribution and size of impacts helps identify storm severity and extent of damage.
- 6. Ridge cap condition. Ridge caps are the most exposed part of the roof. The inspector checks for cracking, displacement, and granule loss that indicates the ridge cap is approaching the end of its functional life.
Section 2: Flashing and Drainage (Points 7-12)
- 7. Chimney flashing. The two-piece base and counter flashing system at chimney penetrations is a common leak source when improperly installed or aged. The inspector checks for gaps, separation, and rust.
- 8. Valley flashing. Open valleys with metal flashing or closed valleys with woven shingles are both inspected for condition, proper integration, and signs of water channeling incorrectly.
- 9. Step flashing at wall intersections. Where the roof meets a vertical wall, individual step flashing pieces should interleave with each course of shingles. Missing or improperly installed step flashing is a consistent leak source.
- 10. Drip edge condition. Drip edge directs water off the roof edge and into the gutters. Corroded, bent, or missing drip edge creates water intrusion at the fascia and soffit.
- 11. Gutter attachment and condition. Gutters pulling away from the fascia, clogged with debris, or improperly pitched create water backup that can work behind the drip edge. RoofCare+ includes gutter cleaning as part of the membership, so this finding comes with a solution already built in.
- 12. Soffit and fascia condition. Soft or stained soffit and fascia boards indicate moisture intrusion that has already reached the structural components behind them.
Section 3: Penetrations and Accessories (Points 13-18)
- 13. Pipe boot condition. Neoprene pipe boots around plumbing vents degrade from UV exposure and cracking. A failed pipe boot is one of the most common sources of active roof leaks and should be replaced at every roof replacement.
- 14. Skylight flashing. Skylights are complex penetrations with multiple flashing components. The inspector checks all edges and transitions for proper integration and signs of water intrusion.
- 15. Attic ventilation outlets. Ridge vents, box vents, and power ventilators are inspected for blockage, damage, and proper function. Inadequate attic ventilation is a leading cause of premature shingle failure.
- 16. Solar panel mounting integrity. On homes with solar panels, the inspector evaluates the penetration and flashing quality around mounting hardware and any signs of water intrusion at panel attachment points.
- 17. Satellite and antenna mounts. Old mounting hardware from removed equipment is a common source of unsealed penetrations. The inspector looks for abandoned mounts with inadequate sealing.
- 18. Caulk condition at all penetrations. Every sealed joint around penetrations is checked for caulk adhesion, cracking, and separation. Failed caulk at penetrations is the first stage of water infiltration at those locations.
Section 4: Attic and Structural (Points 19-22)
- 19. Attic moisture and staining. The inspector looks at the underside of the roof deck from inside the attic for dark staining, moisture, and mold that indicate current or historical leaks. Active leaks often show up in the attic before any interior sign appears.
- 20. Insulation condition. Compressed, wet, or moldy insulation in the attic indicates moisture intrusion and can affect both energy performance and the condition of the deck above.
- 21. Ventilation intake assessment. Soffit vents and other intake sources are checked for blockage from insulation or debris. A balanced ventilation system requires both adequate intake and exhaust.
- 22. Deck structural integrity. Where the deck is visible, the inspector checks for soft spots, delamination, and rot. Compromised deck sections must be replaced before new roofing is installed.
Section 5: Documentation and Reporting (Points 23-25)
- 23. Photographic documentation. Every condition finding should be photographed with context showing location on the roof. Photos are essential for insurance claims and for holding a contractor accountable to what they found. RoofCare+ delivers a photo report after every inspection so members always have a current documented record.
- 24. Written condition summary. The homeowner should receive a written summary describing what was found, where it was found, and what it means for the roof's remaining functional life. Verbal summaries aren't documentation.
- 25. Recommended action timeline. The report should include a clear recommendation: monitor, repair, or plan for replacement, with a realistic timeline given the findings. A report that recommends immediate replacement on every roof is not a trustworthy assessment.
What You Should Receive After a Real Inspection
After a thorough inspection, you should have photographs of every significant finding, a written condition summary organized by the sections above, a clear recommendation with a rationale, and an honest assessment of remaining life if replacement isn't immediately needed.
You should not be handed a one-page form with a replacement recommendation and a quote attached. That's a sales call with an inspection label on it. A real inspection gives you information first, options second.
This is the standard RoofCare+ members receive on every scheduled visit, along with photo documentation they can keep for their records and reference if an insurance situation arises. Members also receive two $75 coupons toward any Ridge Top service, 15% off larger projects, and a 3-year labor warranty extension after the first visit.
How Ridge Top and RoofCare+ Conduct Their Inspections
Ridge Top Exteriors provides free residential roofing inspections across Wisconsin, northern Illinois, and Tampa/Clearwater, Florida. Our inspectors follow the documented 25-point process covered above, produce written findings with photographs, and provide honest recommendations. If your roof has life remaining, we'll tell you what to watch for and when to schedule the next assessment.
For homeowners who want this level of attention on a regular schedule, RoofCare+ is Ridge Top's roof maintenance membership. It includes the full 25-point photo inspection, gutter cleaning, and ongoing coverage that keeps your roof monitored and documented year after year. RoofCare+ is GAF-backed and available at ridgetopexteriors.com/roof-care.
Our roofing service page covers everything we inspect and install. If your inspection confirms a replacement is needed, our instant quote tool gives you a real starting estimate in minutes. When you're comparing roofing companies near me, ask each one what their inspection covers and what documentation they provide. The answer tells you a lot about how they'll manage your project if you hire them.
Read verified reviews from homeowners across our service area to see how Ridge Top's inspection standard holds up in practice.
A roofing contractor who inspects thoroughly is a contractor who installs carefully. The two tend to go together. And a homeowner enrolled in RoofCare+ never has to wonder what stage their roof is in.

.jpg)