Most homeowners have a rough idea of what a siding project involves: old stuff comes off, new stuff goes on. What they're less clear on is everything that happens in between, and that middle part is where the quality of a job is actually decided.
This post walks through every stage of a professional siding installation in the order it happens. Knowing what to expect before a crew shows up puts you in a much better position to evaluate who you're hiring and ask the right questions. Both the Vinyl Siding Institute's quick tips for homeowners and James Hardie's installation guidance are good independent references that reinforce the standards we cover here.
What Happens Before the Crew Arrives
A new siding installation starts before anyone sets foot on your property. In the days leading up to the start date, your contractor should confirm the schedule in writing, go over material delivery, and let you know how to prepare.
Your part is pretty straightforward. Move anything stored along the exterior walls at least 15 feet from the house. Take down window boxes, hanging plants, and any exterior lighting on the walls being sided. Park vehicles away from the work zone and keep pets inside or in a secure area away from the crew.
Before work begins, ask your contractor in writing what happens if tear-off uncovers damage that changes the scope. Negotiating a change order mid-project is stressful. Having that conversation upfront is not.
Day One: Tear-Off and What It Reveals
Every residential siding replacement starts the same way: the crew strips the old material off the walls and hauls it out. They should be managing the debris as they go rather than letting it pile up around your foundation.
Tear-off is loud, and it looks more dramatic than it is. Seeing your home's walls stripped down to sheathing can be unsettling if you're not expecting it. That's a completely normal part of the process. What matters is what the crew finds at that point.
When the old siding comes off, it exposes the structural sheathing underneath. This is the first chance to see whether there's rot, moisture damage, or pest damage that wasn't visible from the outside. A good contractor stops, photographs what they found, and gives you a written change order before any additional repairs happen. If a crew just keeps working without telling you what they discovered, that's a red flag worth addressing immediately.
Most tear-offs wrap up in one to two days depending on the size of the home and how many layers of siding are coming off.
Substrate Inspection and Repairs
Once the walls are clear, the crew goes over the sheathing systematically. They're looking for soft spots, areas where the wood has separated or delaminated, signs of old moisture getting in, and anywhere the substrate won't hold a fastener properly.
Any damaged sections get replaced before new material goes up. This is not optional on a quality job. Siding installed over bad sheathing won't perform to spec or hold fasteners properly, and it will almost certainly cause moisture problems within a few years. Fixing the substrate now costs a fraction of what it costs to deal with a siding failure later.
This stage also includes checking existing flashing and the areas around windows and doors. If any of it is damaged, installed wrong, or incompatible with the new siding system, it needs to be fixed before the moisture barrier goes on.
Housewrap and Flashing: The Step That Determines Long-Term Performance
After substrate repairs, the crew installs a weather-resistive barrier across the wall surfaces. Most people call this housewrap. Its job is to let moisture vapor escape from the wall while shedding any water that gets behind the siding. The U.S. Department of Energy identifies weather barriers as a key part of a home's building envelope, directly affecting both moisture management and energy efficiency.
Housewrap is where a lot of shortcuts get taken, because the mistakes are invisible once the siding goes on. Seams need to overlap by the right amount. Every penetration, including windows, doors, outlets, and vents, needs to be properly taped and integrated into the barrier. Seams that aren't taped correctly let water travel behind the siding, which leads to rot and structural damage that can take years to show up.
Flashing goes at every spot where water could work its way into the wall: above windows and doors, where the roof meets a wall, at deck connections, and at penetrations. James Hardie's installation specs require six-inch flashing at butt joints that overlaps the course below by at least an inch. These aren't suggestions. They're the difference between a siding system that handles water correctly for 20 years and one that starts causing problems in five.
Panel Installation: Where Manufacturer Specs Actually Matter
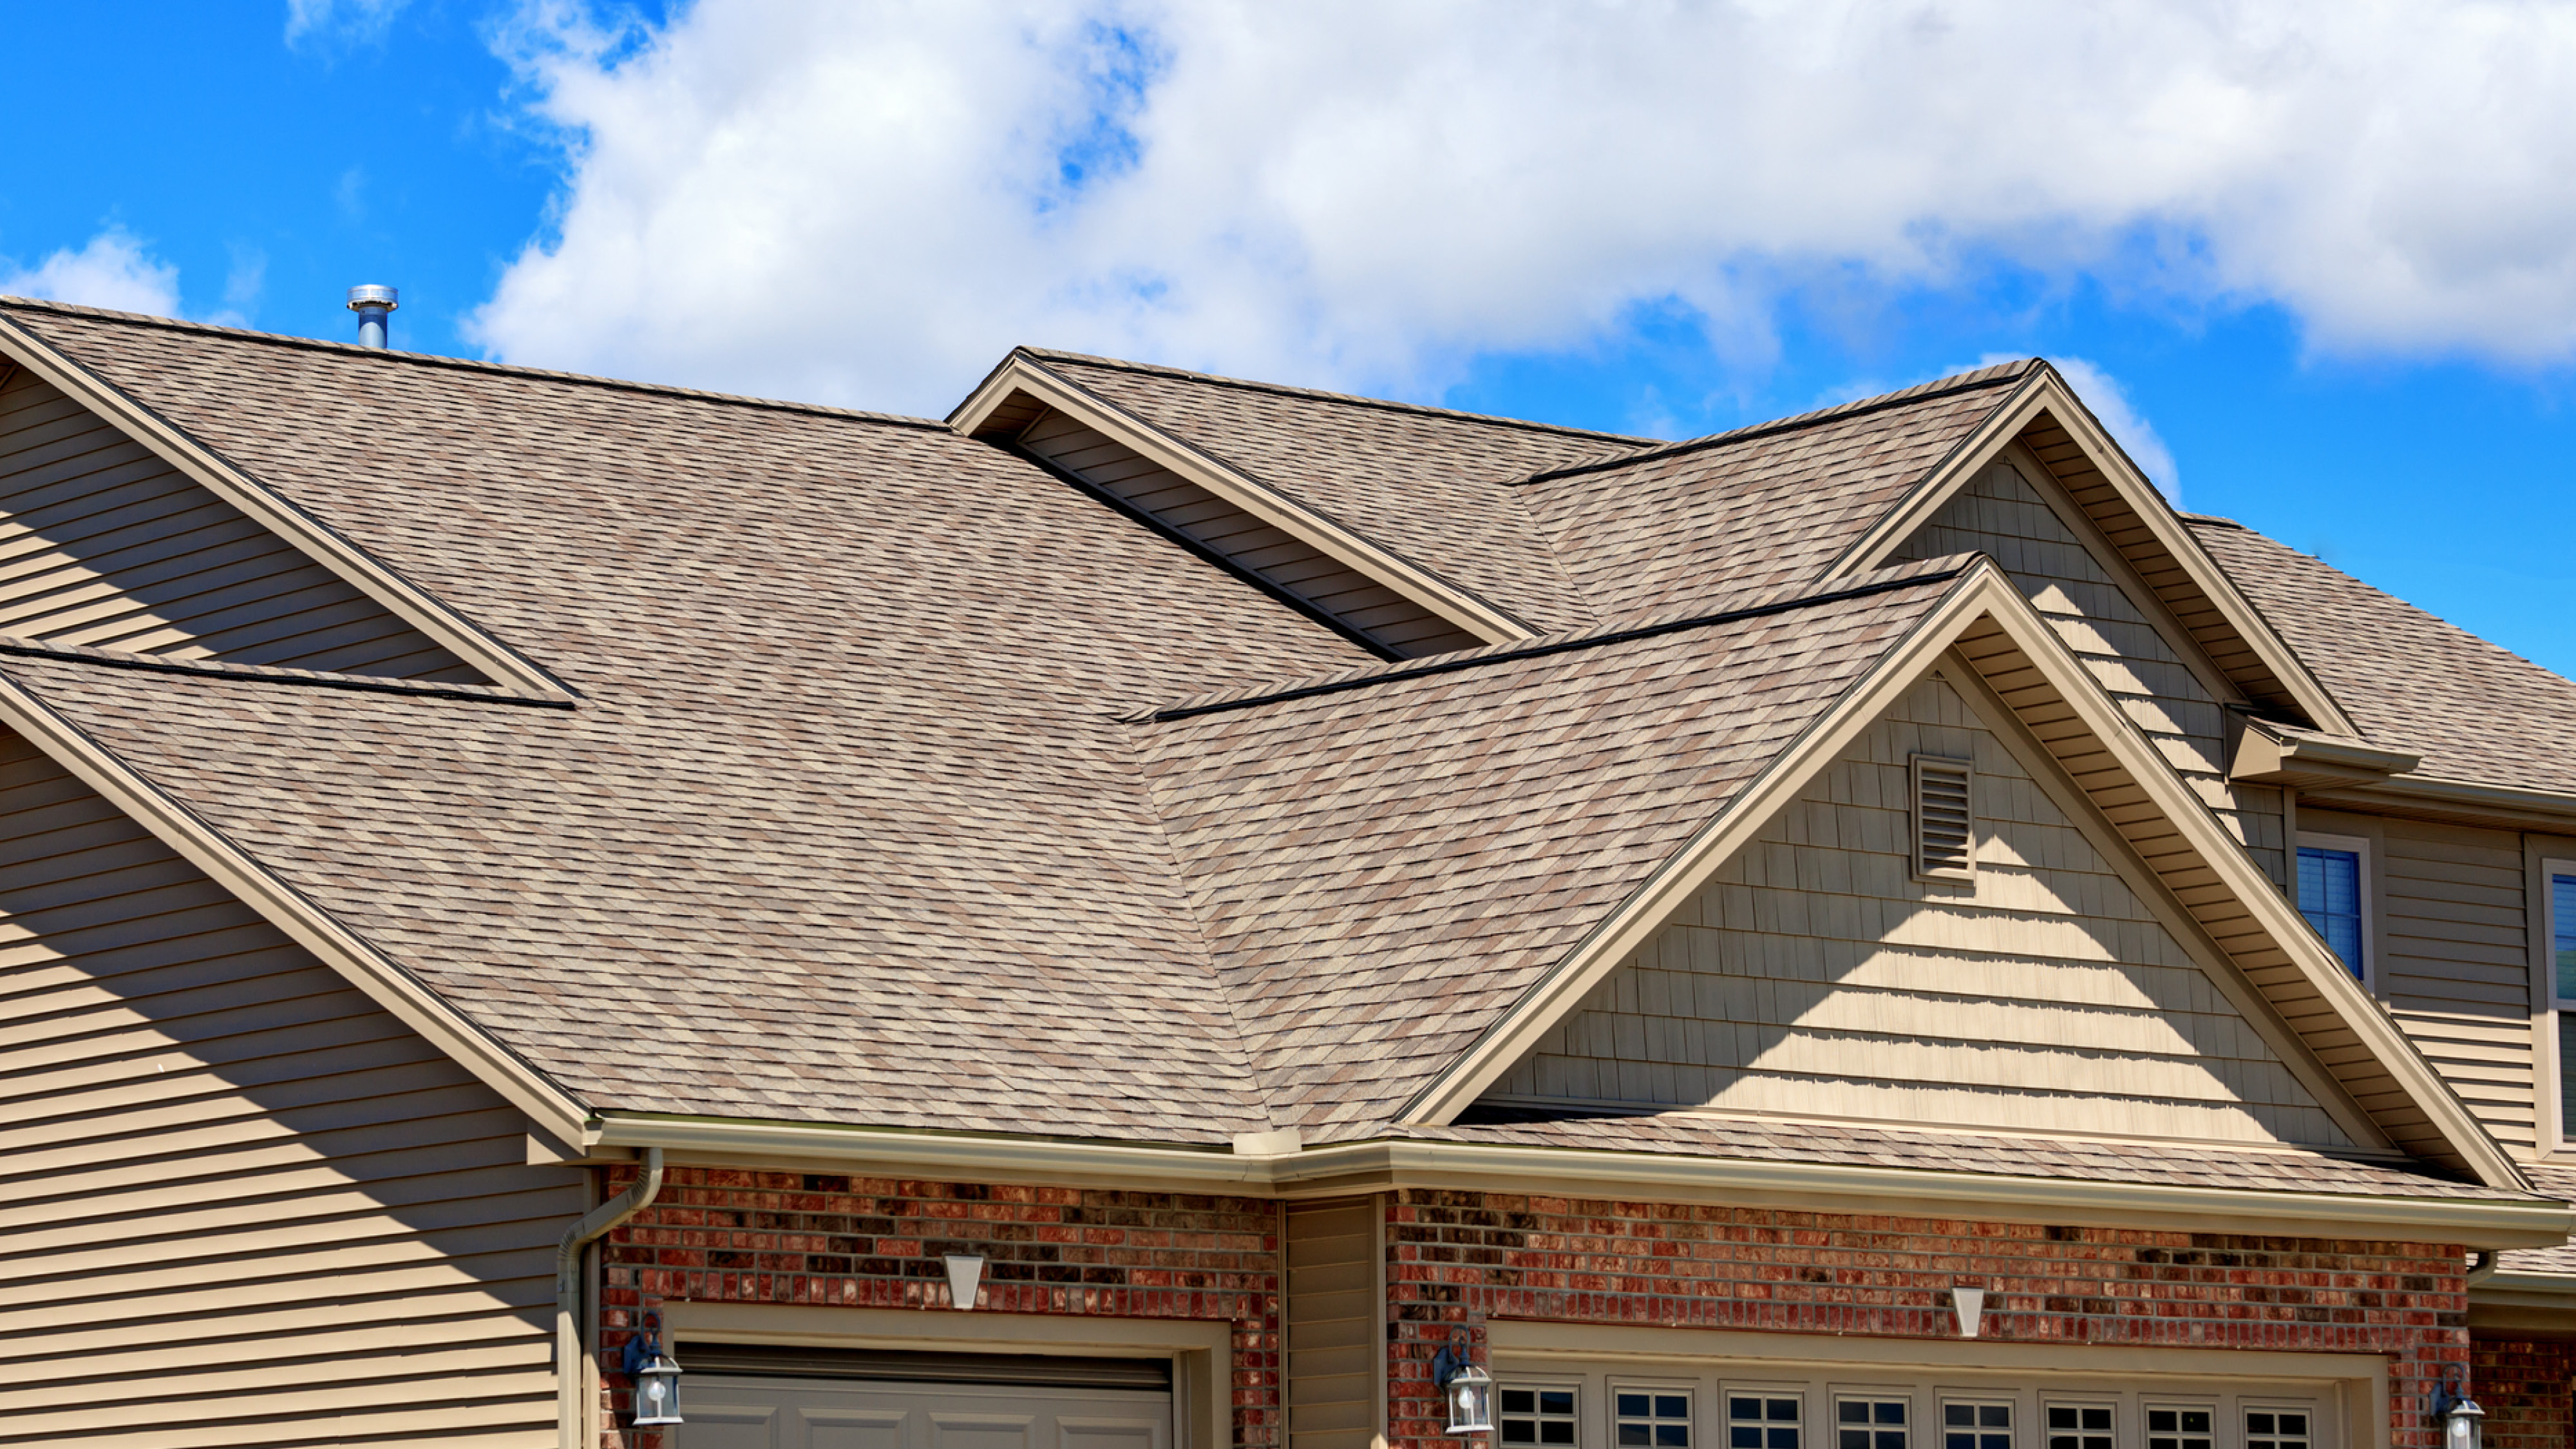
Panel installation is the part everyone can see. It's also where the gap between professional siding installers and unskilled crews becomes most obvious.
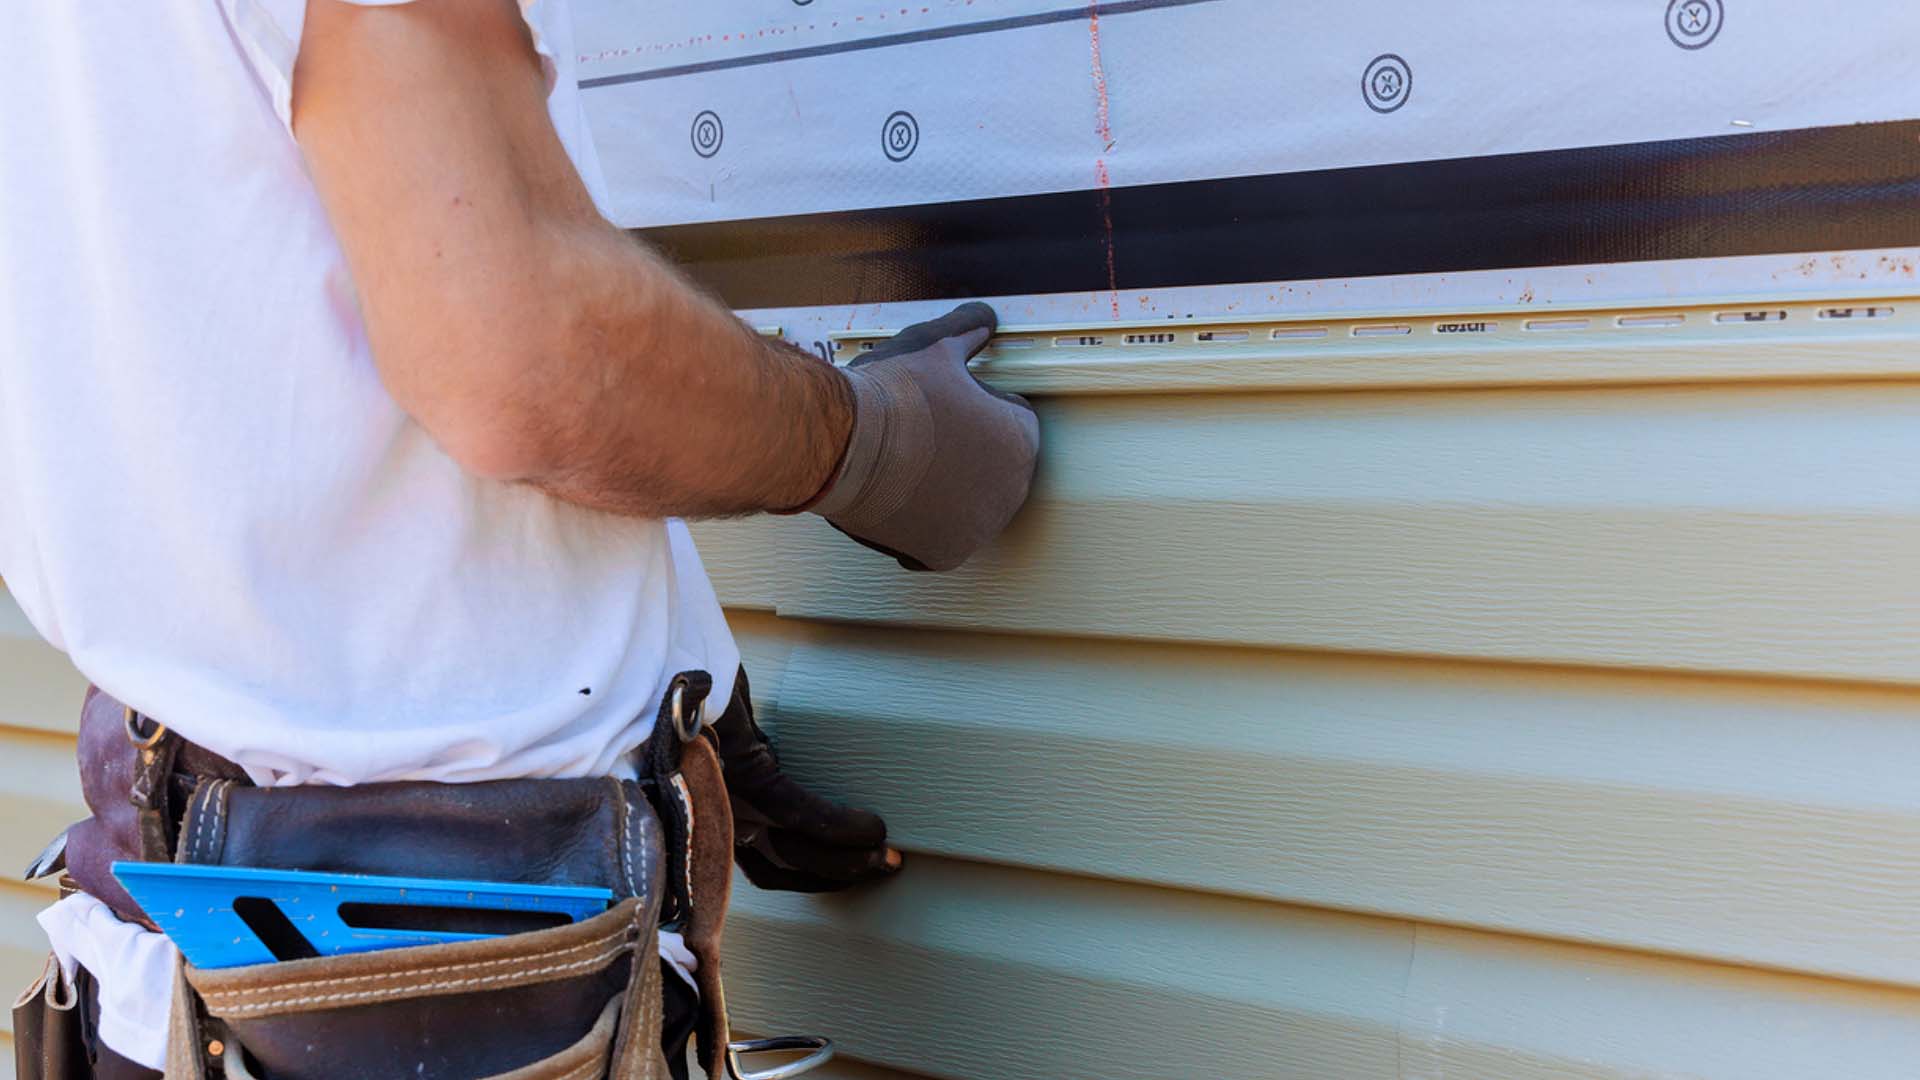
Everything starts with the starter strip at the base of the wall. This sets the level line that every course above it follows. If it's not level, nothing above it will be either, and that misalignment compounds as the crew works up the wall. Experienced crews check level frequently throughout the job.
Corner posts, J-channels, and trim accessories go in before panels start. For fiber cement, panels are fastened into studs at manufacturer-specified intervals, not just into sheathing. Each board has to maintain the right clearance above grade, above flashing, and away from adjacent surfaces to allow for thermal movement and drainage.
Vinyl siding is never nailed tight. Vinyl expands and contracts with temperature changes, and panels installed without the required slip space will buckle and warp. For fiber cement, butt joints on long runs have to be staggered between courses and flashed behind the joint.
Cutting around windows, doors, vents, and outlets takes precision. Fiber cement requires carbide blades and either outdoor cutting or dust collection to manage silica exposure. Every cut edge that will face weather needs to be sealed with caulk or paint before the panel goes up.
Trim, Details, and the Work That Finishes the System
Trim is the last layer of a siding system, and it's the detail work that determines how the finished job reads. Window and door trim, corner trim, soffit and frieze connections, and accent profiles all get the same attention to clearance and sealing as the field panels.
Every junction where siding meets trim, where trim meets a window frame, or where the system ends at a different material gets caulked with a product that's compatible with the siding. For James Hardie fiber cement, only paintable caulks compatible with cement board are used. ColorPlus factory-finished siding requires a specific caulk that weathers at the same rate as the factory finish.
At this stage, the crew also reinstalls any exterior lighting, outlets, vents, and fixtures that came down before installation. Every penetration gets sealed and flashed before the fixture goes back on. That's worth checking specifically during the final walkthrough.
Daily Cleanup and Site Management
A new siding installation generates a lot of debris: old panels, fasteners, cut-offs, packaging. How a crew manages that debris every single day tells you a lot about how they're managing the job overall.
Quality contractors haul debris off the site at the end of each day or keep up with it throughout. Nails get swept or magnet-rolled from the ground around the perimeter. Off-cuts get staged away from walkways. A job site at the end of the day should be walkable and secure.
If you have landscaping, hardscaping, or an AC unit near the work area, talk about site protection before the job starts. Tarps over beds, protection for AC units, and care around decks are all reasonable expectations. A crew that manages the site cleanly during the job almost always manages the installation details cleanly too.
The Final Walkthrough and What It Should Cover
The final walkthrough is your one real opportunity to review the completed work before the project closes out. For any residential siding replacement, this deserves more than a five-minute glance.
Walk the full perimeter and look at every wall. Check that courses are level and consistent. Look at every window and door surround for complete, unbroken caulk lines. Verify that all penetrations, vents, and outlets are reinstalled and sealed. Look at corners for consistent overlap and tight trim.
- Specific things to confirm:
- Butt joints are staggered and don't line up vertically between courses
- Caulk is present and continuous at all siding-to-trim junctions
- All penetrations are reinstalled, sealed, and flashed
- Starter strip is straight and consistent along the base of every wall
- Corner trim is plumb and consistent on all corners
- No fastener heads are visible on the face of any panel
- Debris and cut-offs have been removed from the property
If anything doesn't look right during the walkthrough, note it in writing before you sign off on final payment. A contractor who stands behind their work will address punch list items before the project is officially closed.
How Ridge Top Manages Every Stage
Ridge Top's professional siding installers are factory-trained on every material we install, including James Hardie fiber cement, LP SmartSide engineered wood, and Mastic vinyl. Every siding installation we do follows manufacturer specs at every stage, from housewrap seam overlap and flashing details to fastening patterns and caulk compatibility. The standards don't change based on project size. A 1,200-square-foot ranch gets the same process as a 3,500-square-foot two-story.
Our siding service page covers the materials and profiles we install across Wisconsin, Illinois, and Florida. Our process page walks through how we manage a project from estimate through final walkthrough.
If you're ready to get a number, our instant quote tool delivers a real estimate in minutes. Or read reviews from homeowners across our service area to see how we run a job in practice.
A siding project done right is one you won't think about for 20 years. The process that gets you there is worth understanding before day one.